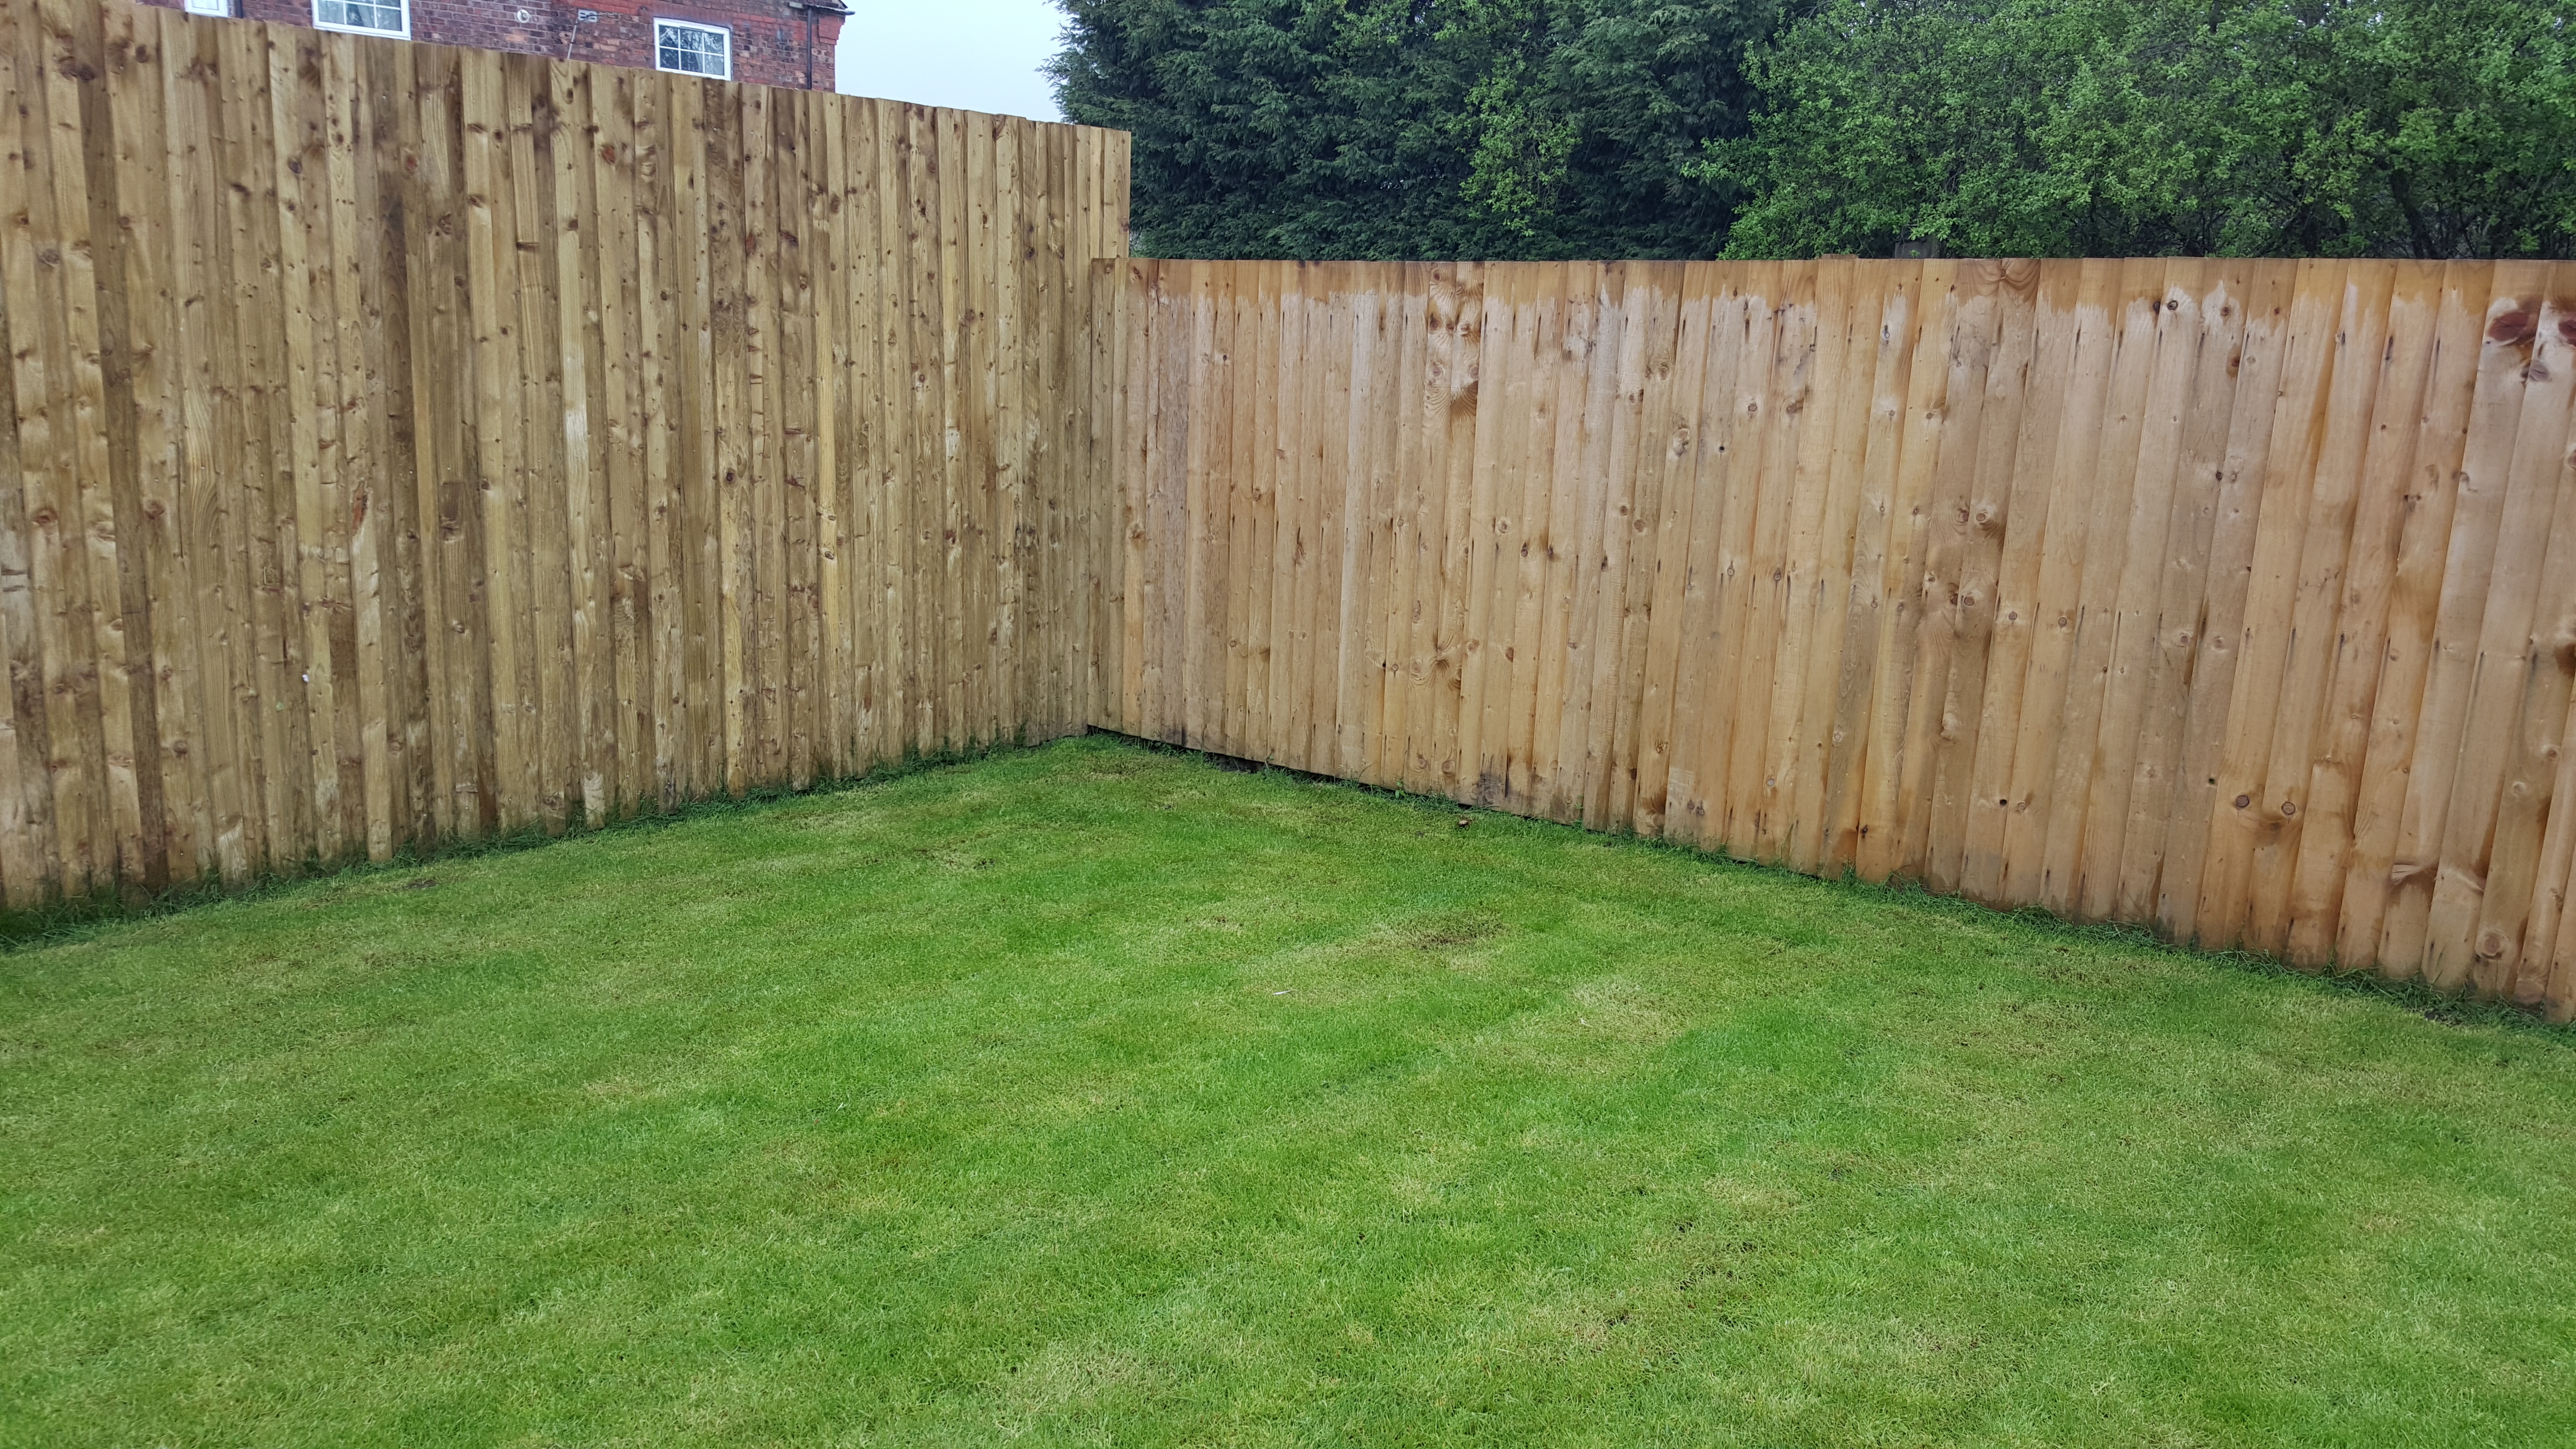
For the new house, we needed a new shed, and after deciding on a 6’x6′ structure, it was simply a case of designing and building a base, and choosing a good shed from a local carpenter.
The first step was to design the base; for this, Dad and I sent each other a few sketches of how we wanted it to look, these are below in order. We finally agreed on having a paved front of four slabs with a 3×3 flagged base behind that for the shed to sit on, all surrounded by a 1′ trench of limestone chippings.
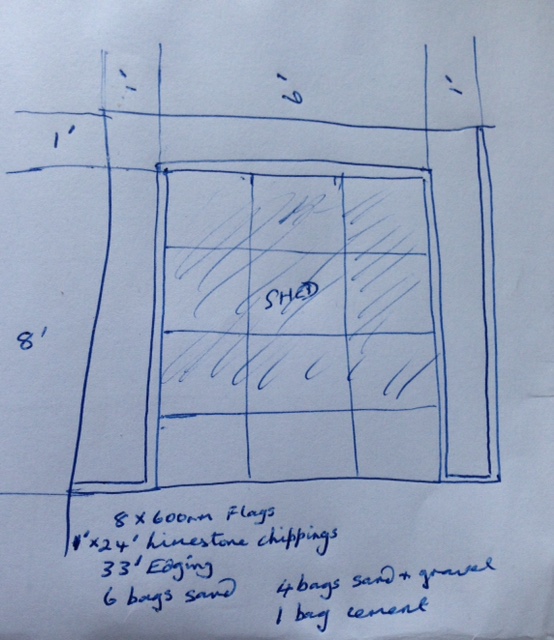
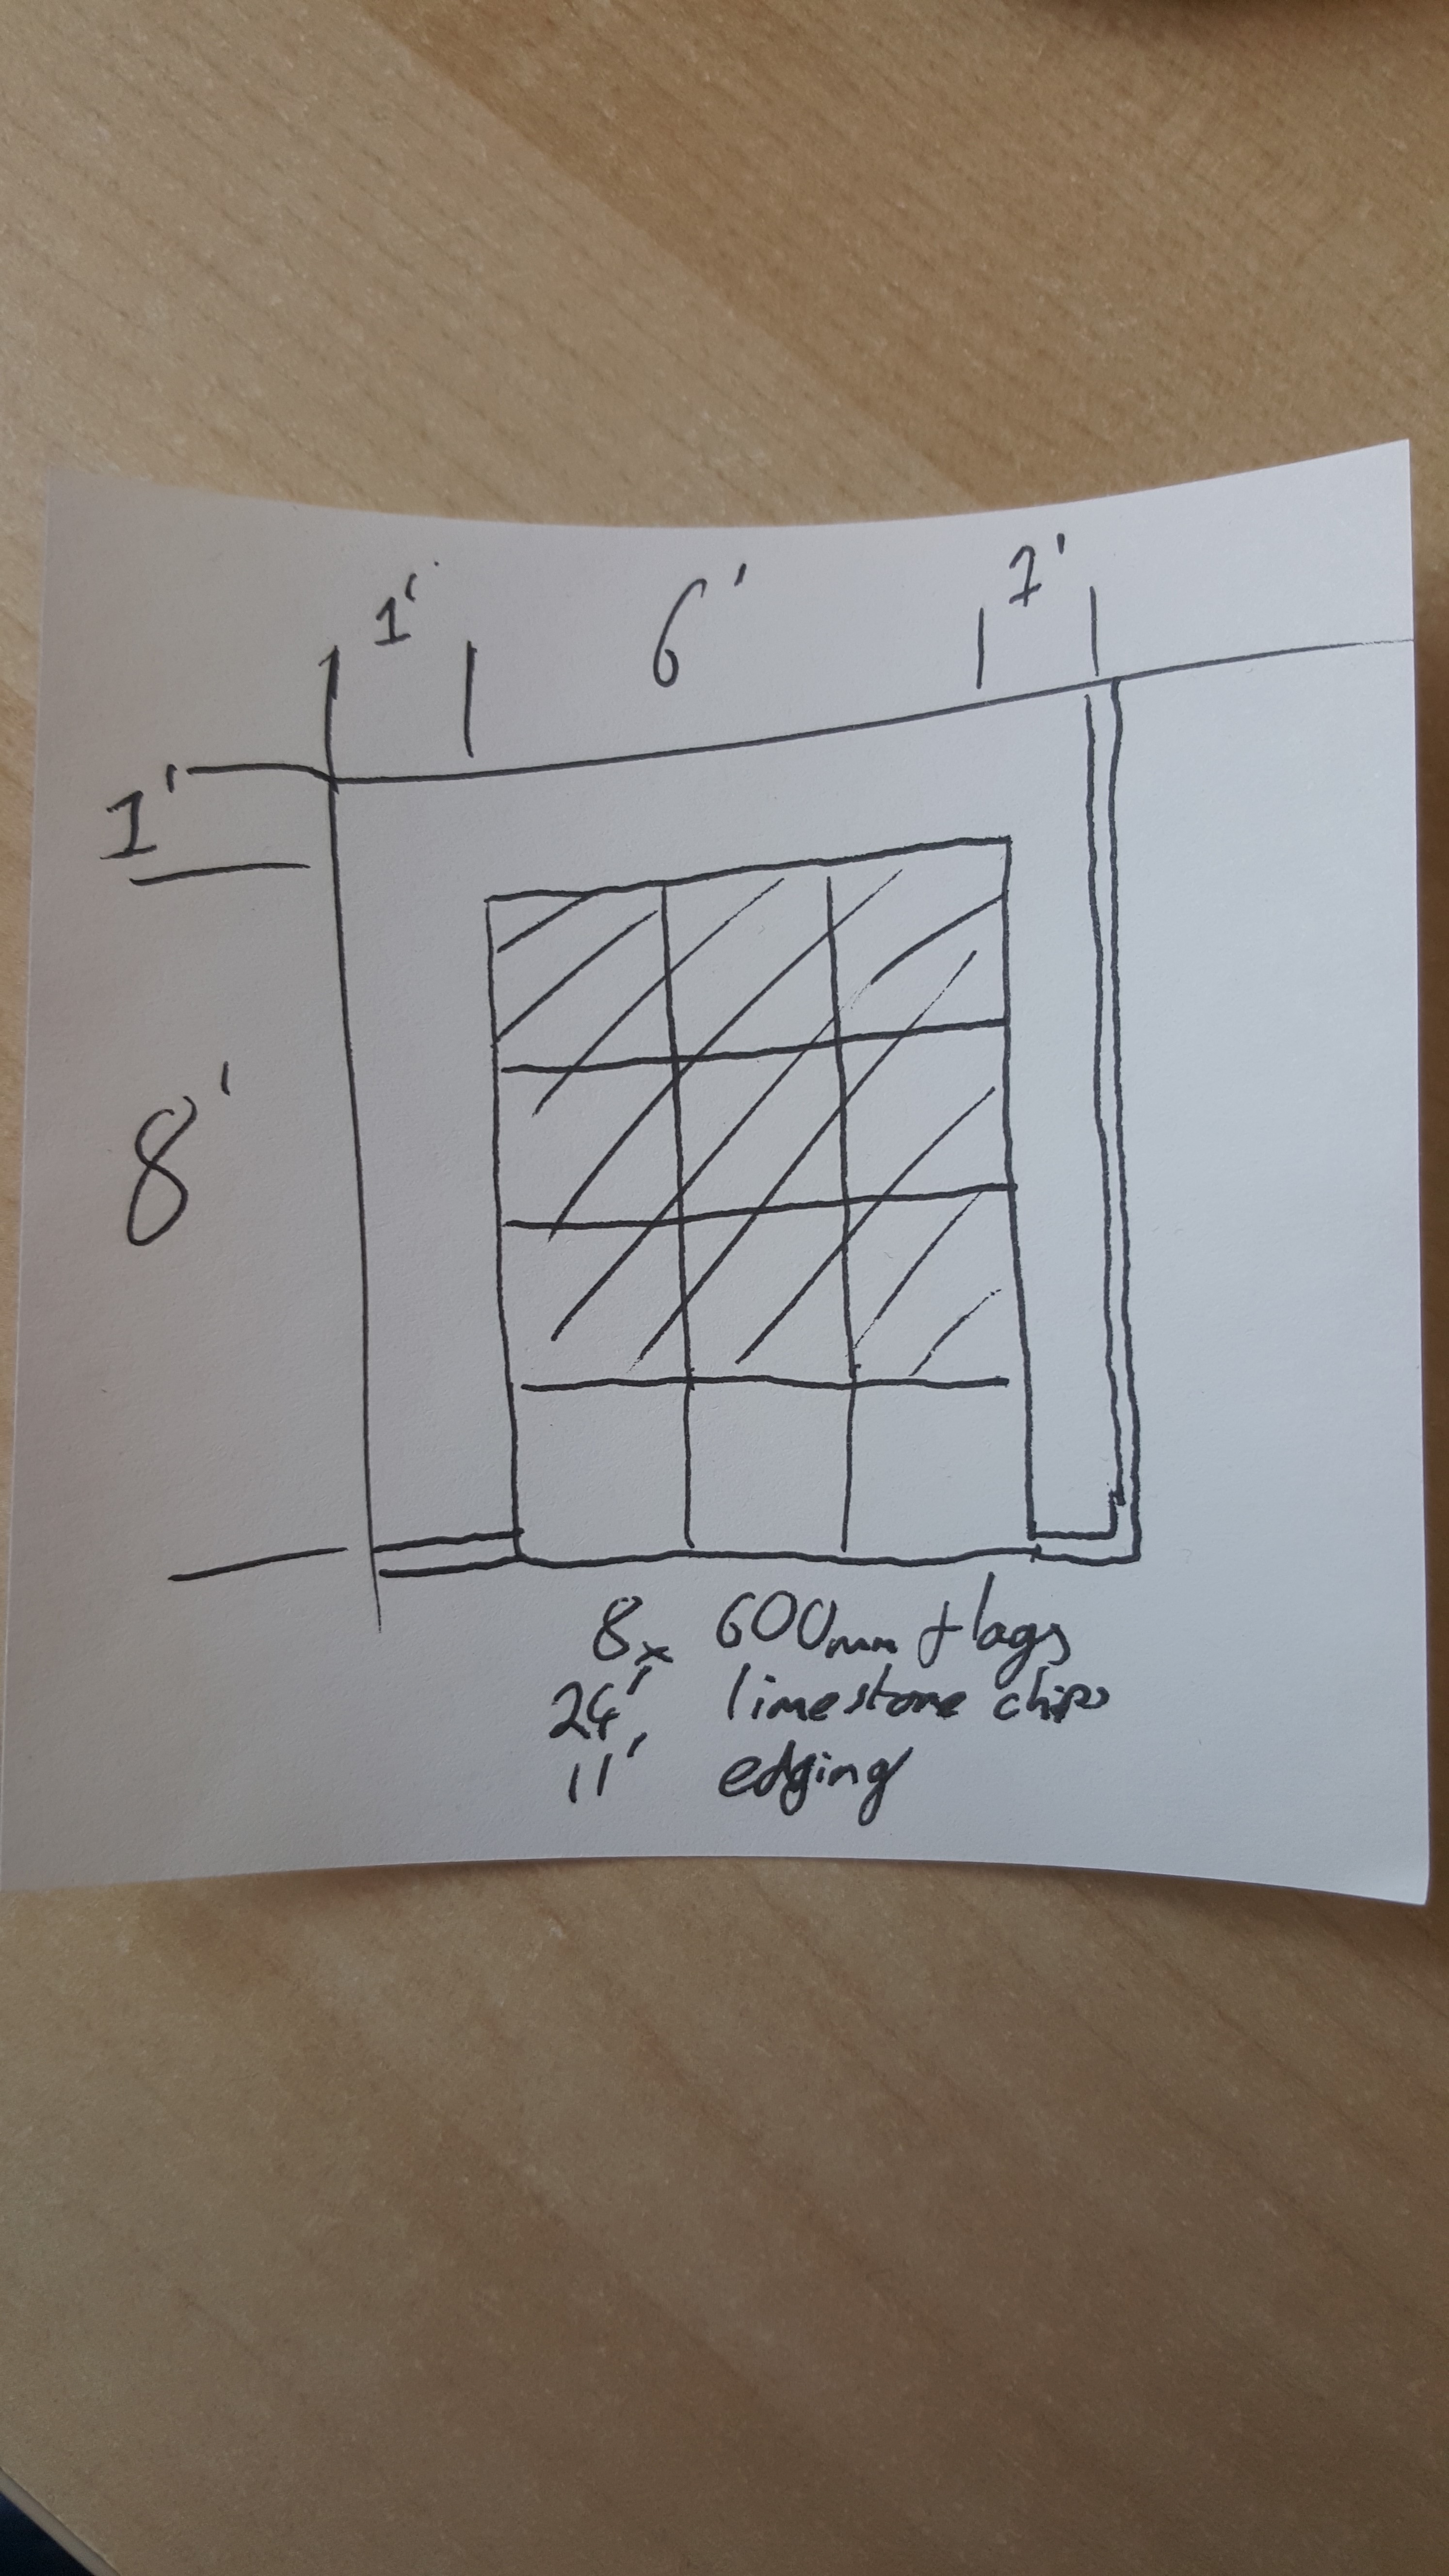
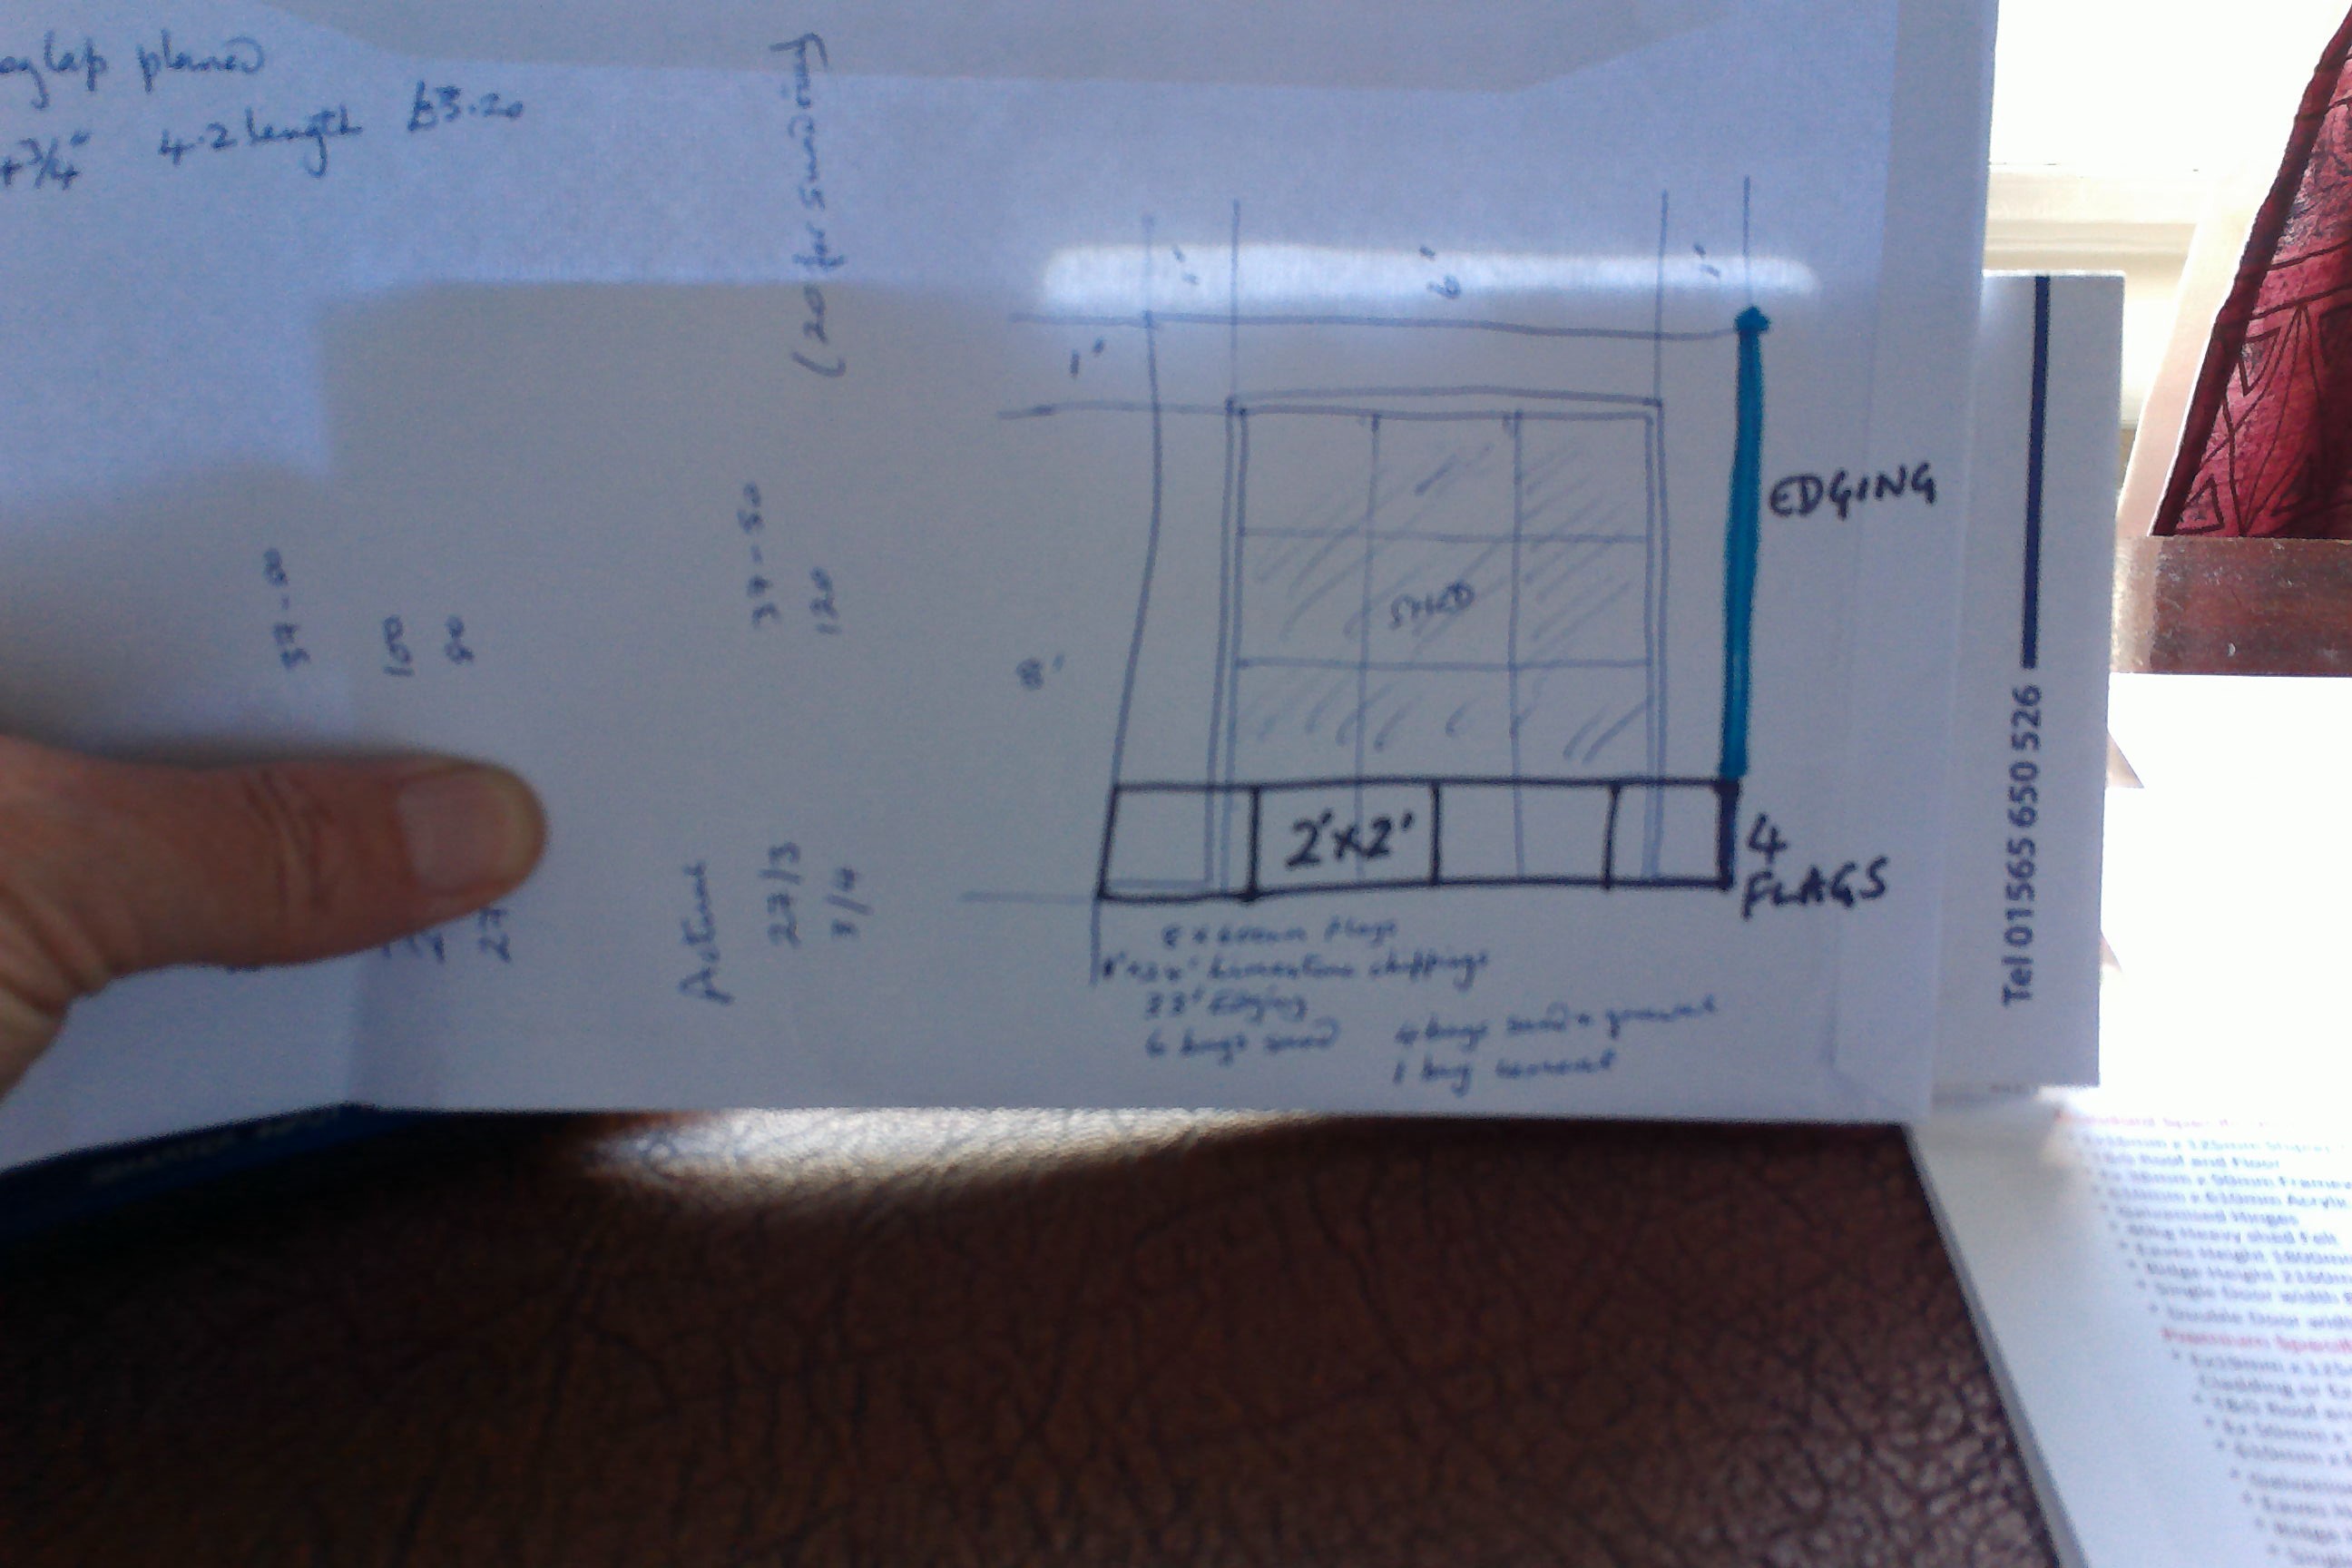
With the plan sorted, we set about ordering the materials:
- A tonne of 20mm limestone chippings
- Thirteen 2′ flagstones
- Three 3′ edging stones
- Six bags of sand
- Two bags of ballast
- A bag of cement
- 15m of weed membrane
- And a pointing trowel
Once all of the materials arrived, the base took a few days to build (thanks to the parents for helping out where needed). First step was to remove the top layer of turf and create a flat surface to work with, getting rid of any rubble or roots that may be sticking out of the ground.

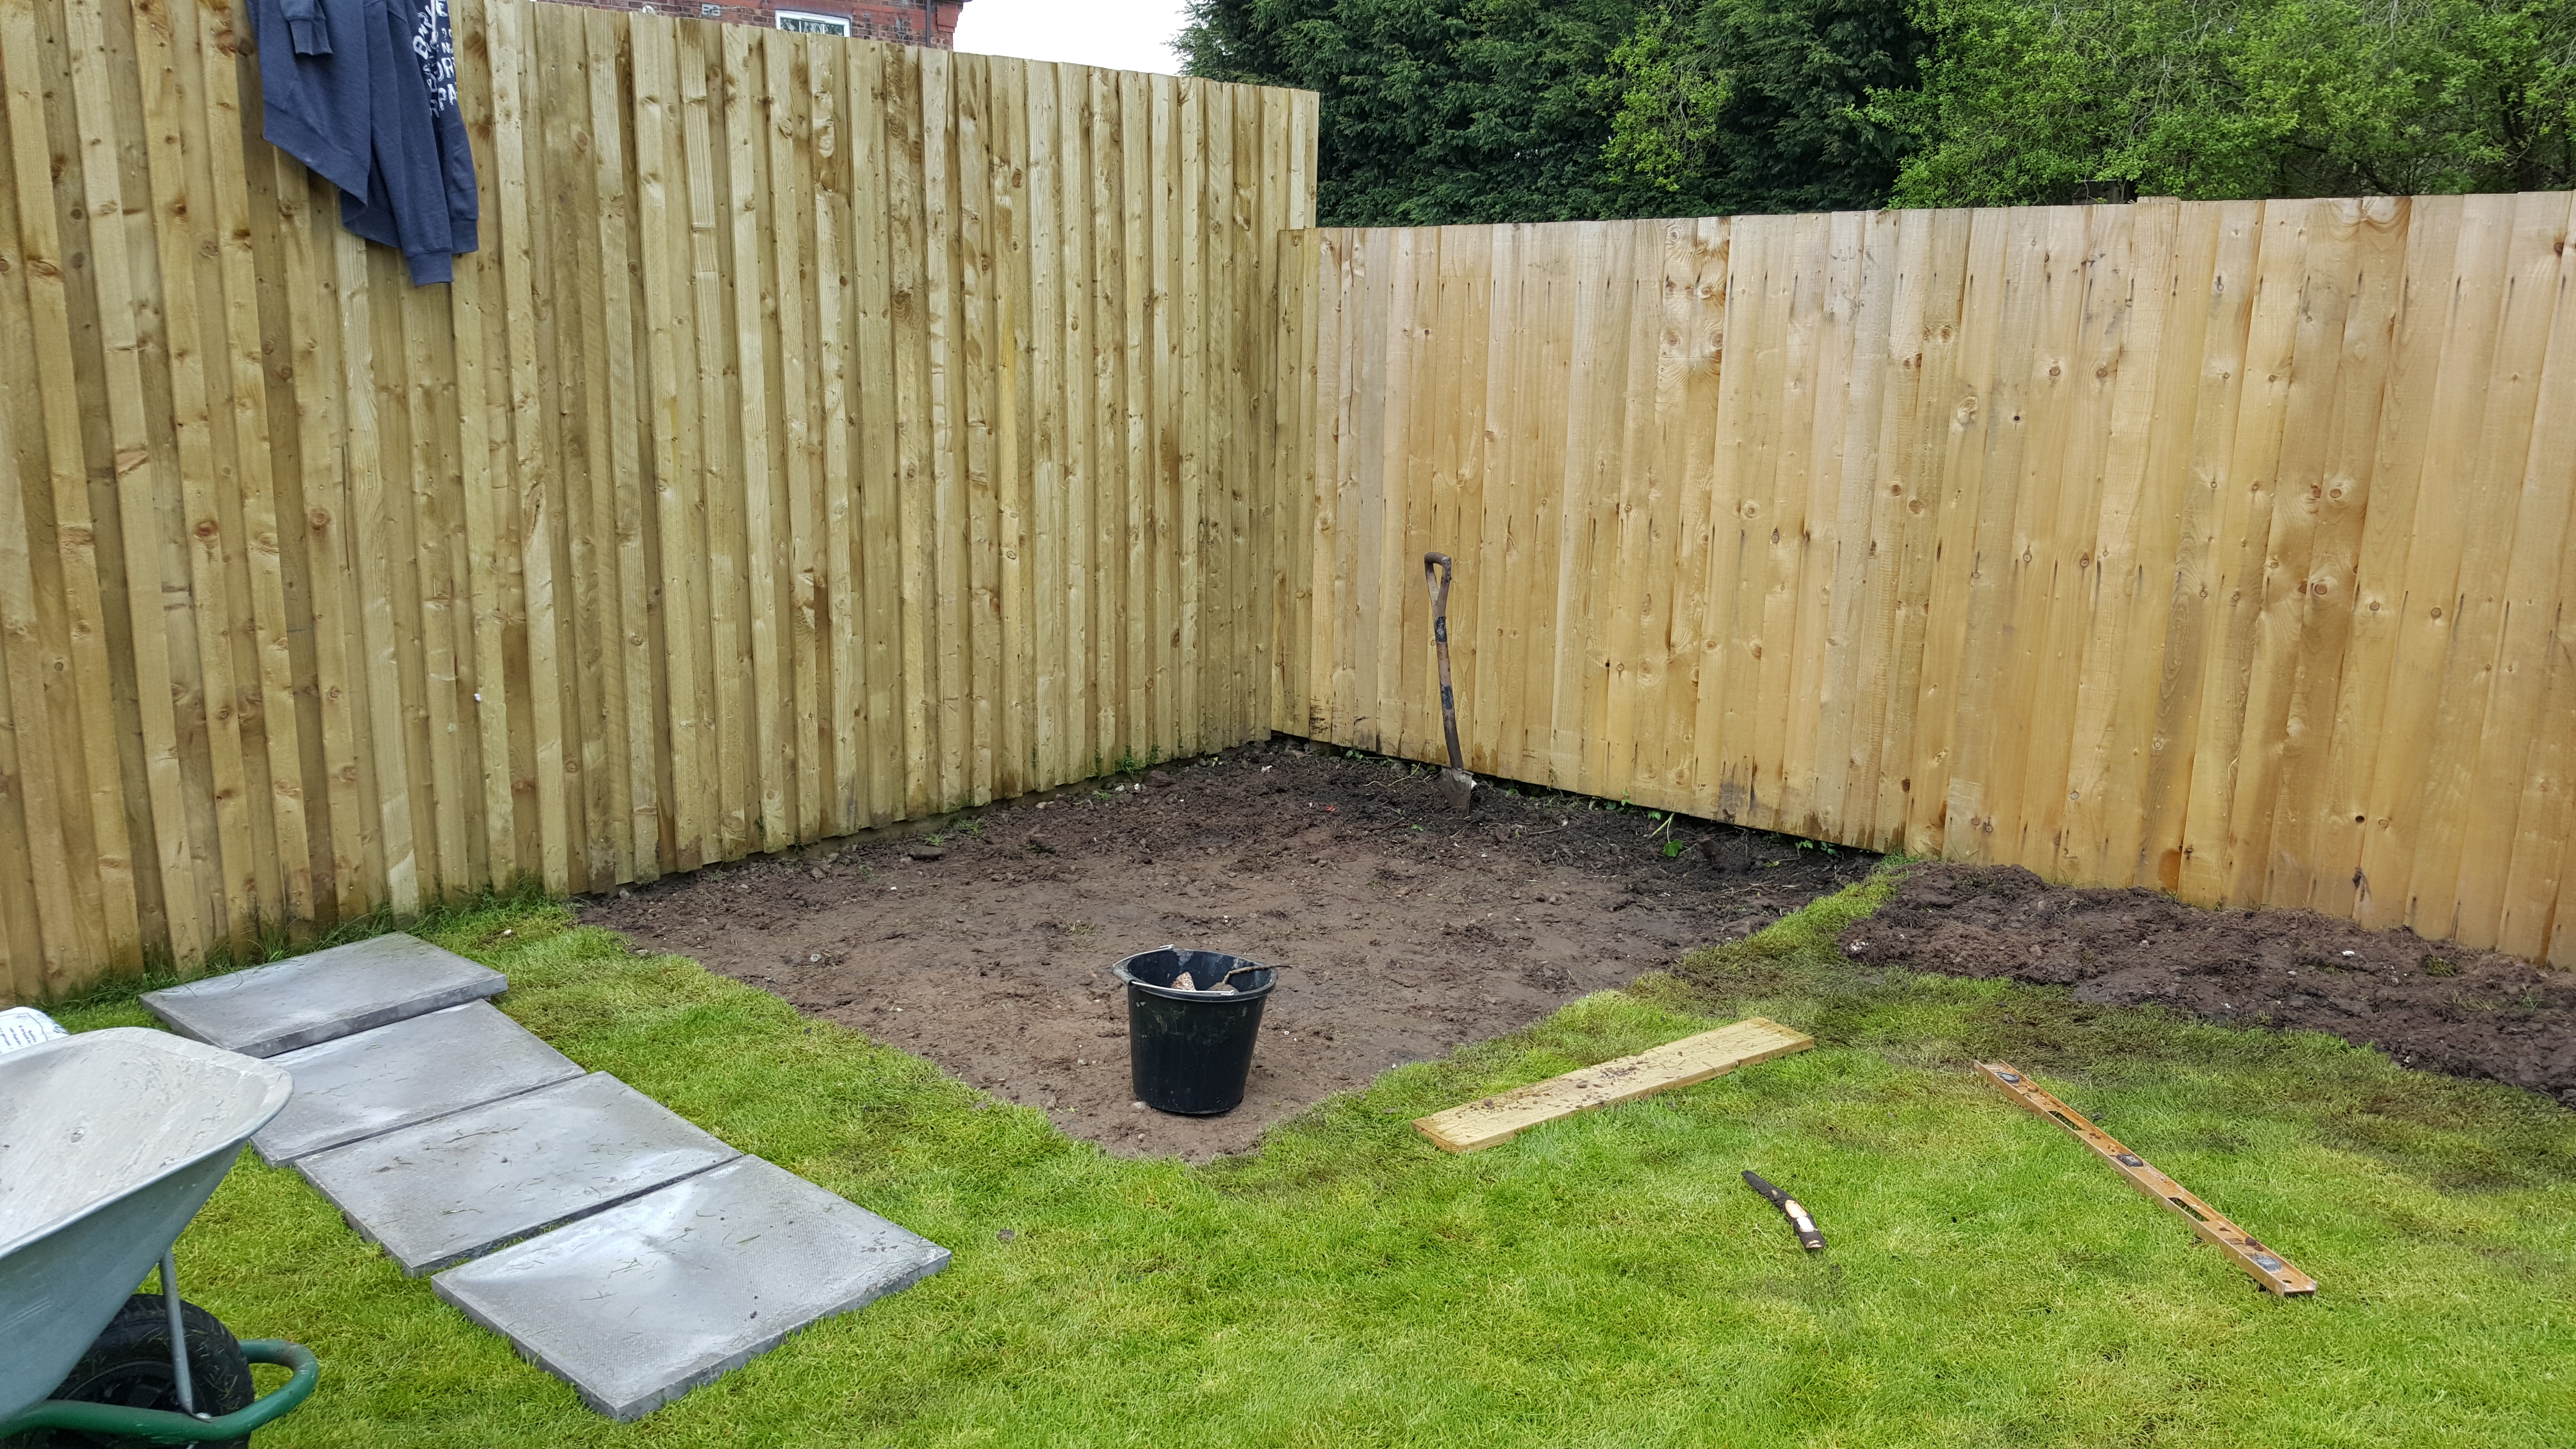
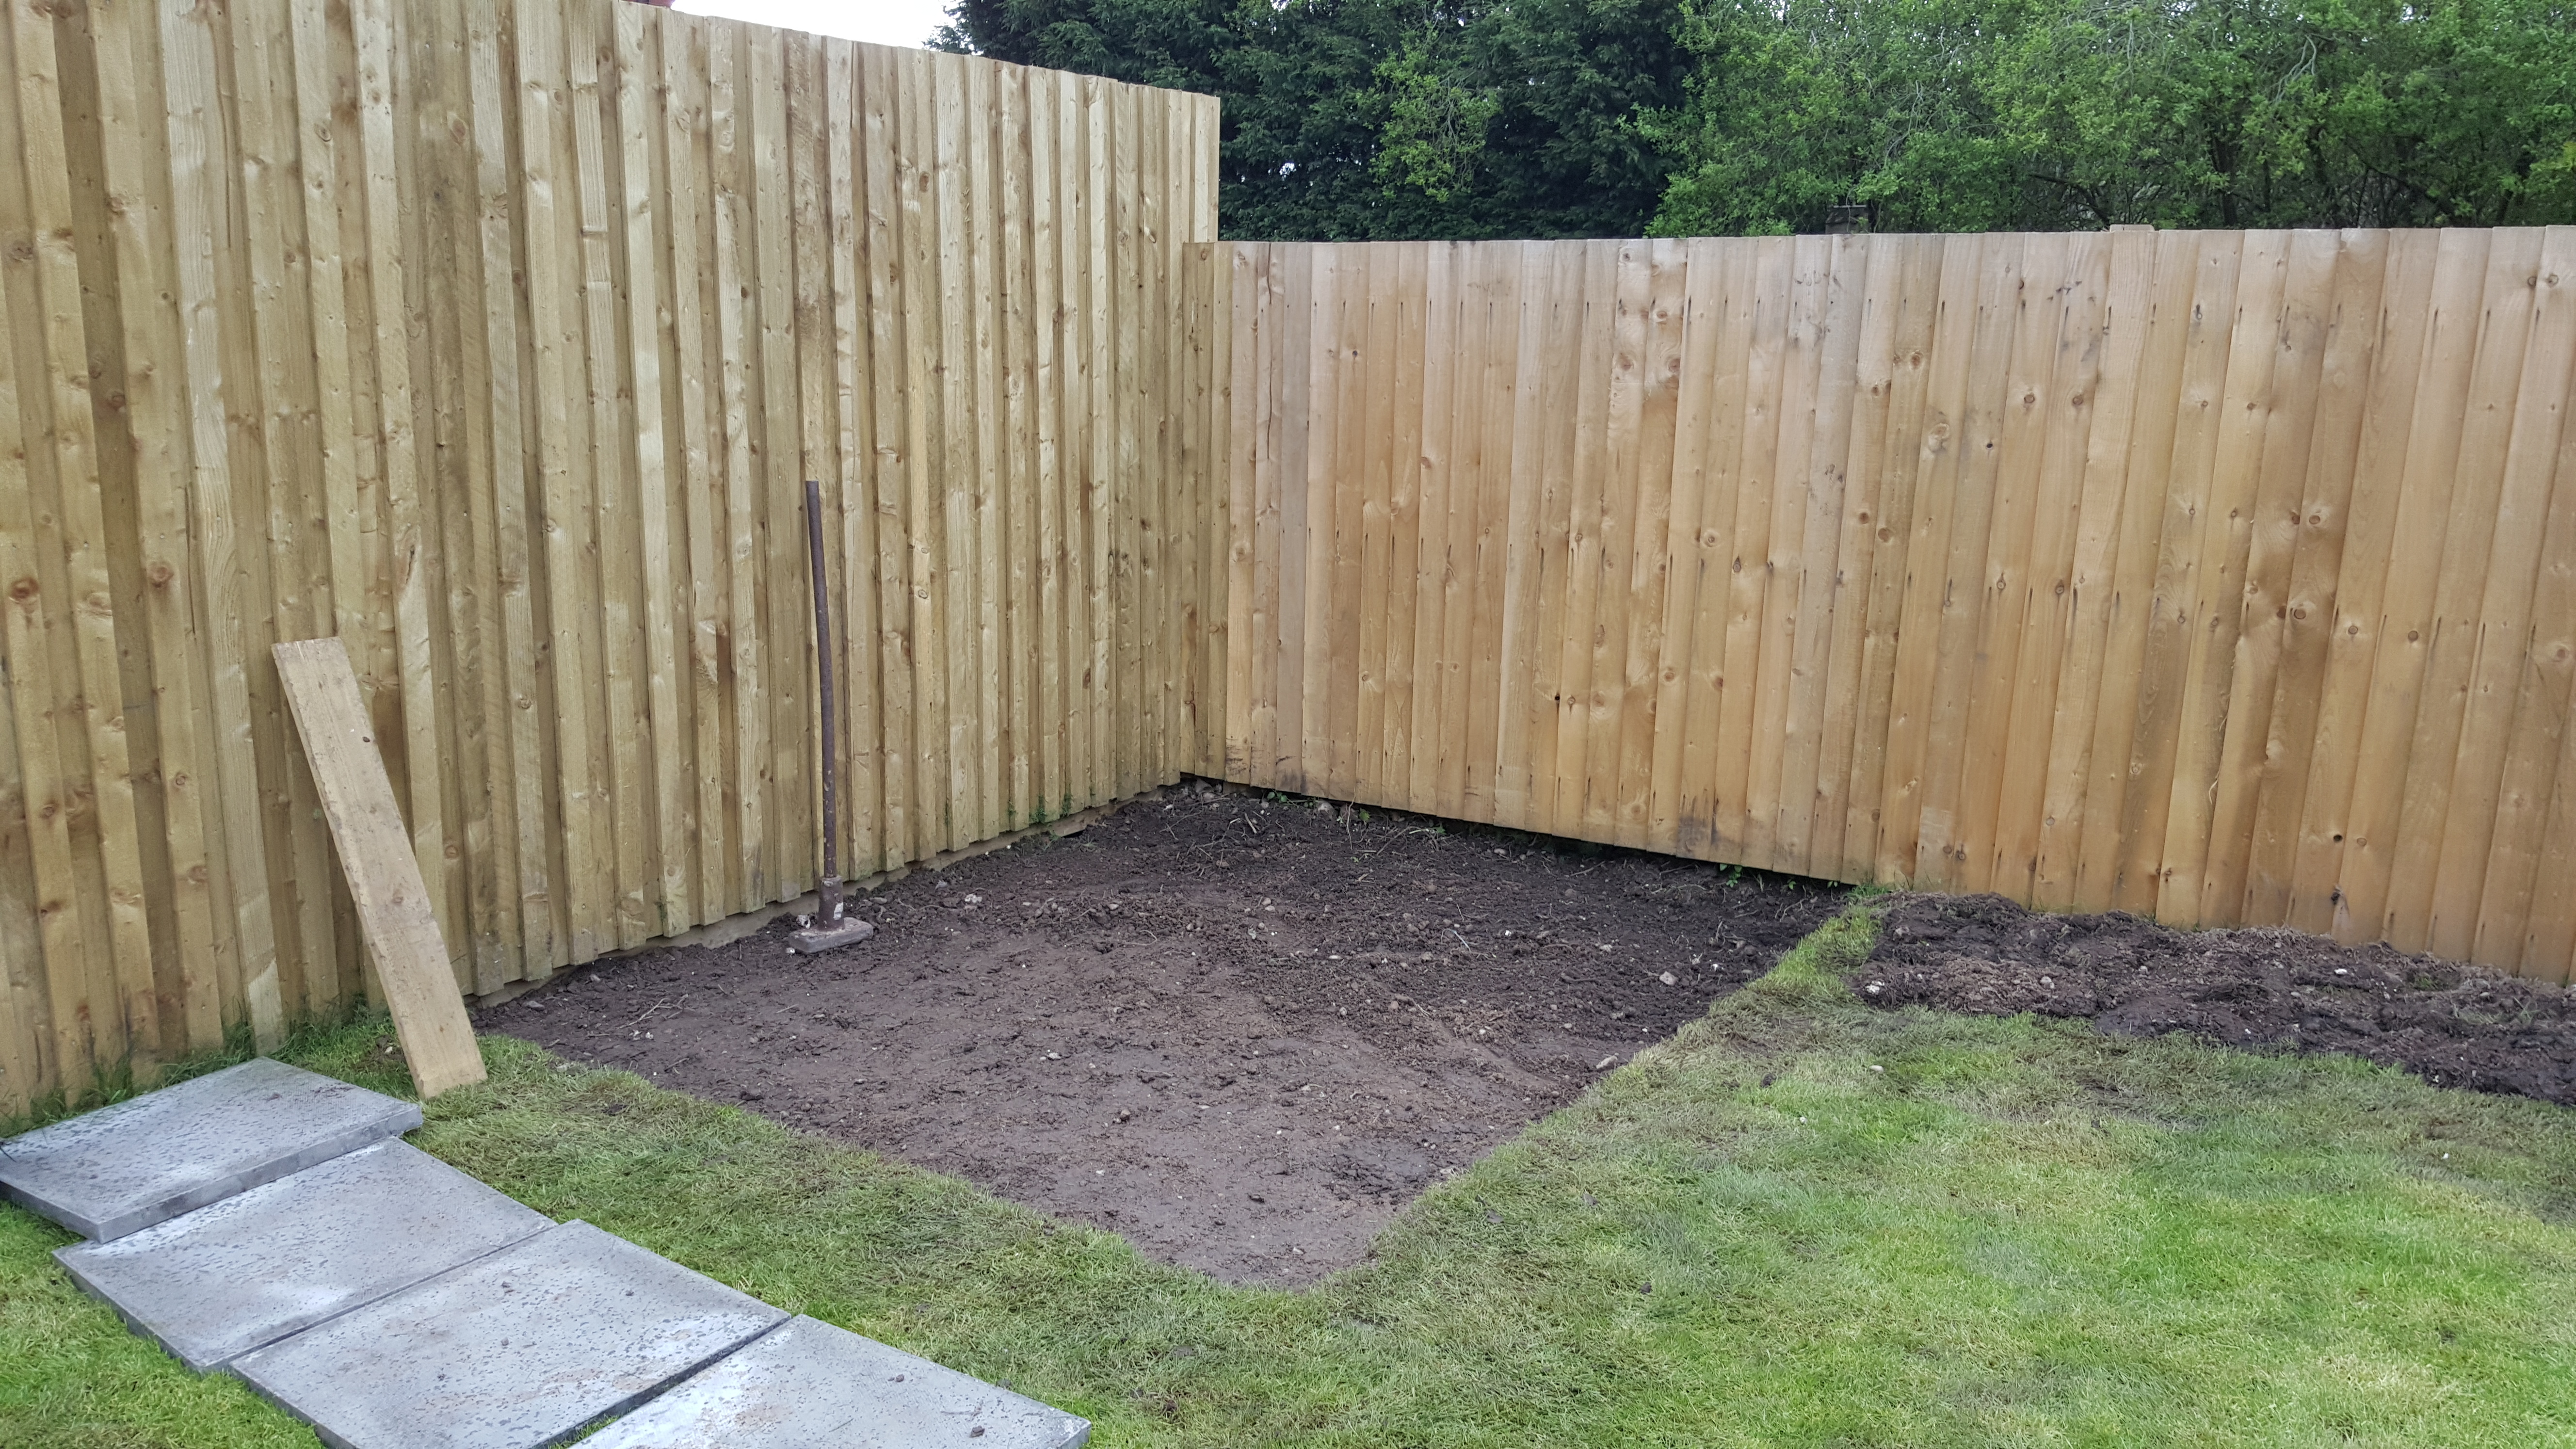
The next step was laying the outside flags themselves, along with the edging stones. A small trench was dug around the main base area for the chippings to sit in, and the edge was laid. Underneath each flagstone was a base of sand and a few lumps of concrete for stability, while the edging stones were held in place by a mix of concrete and ballast.
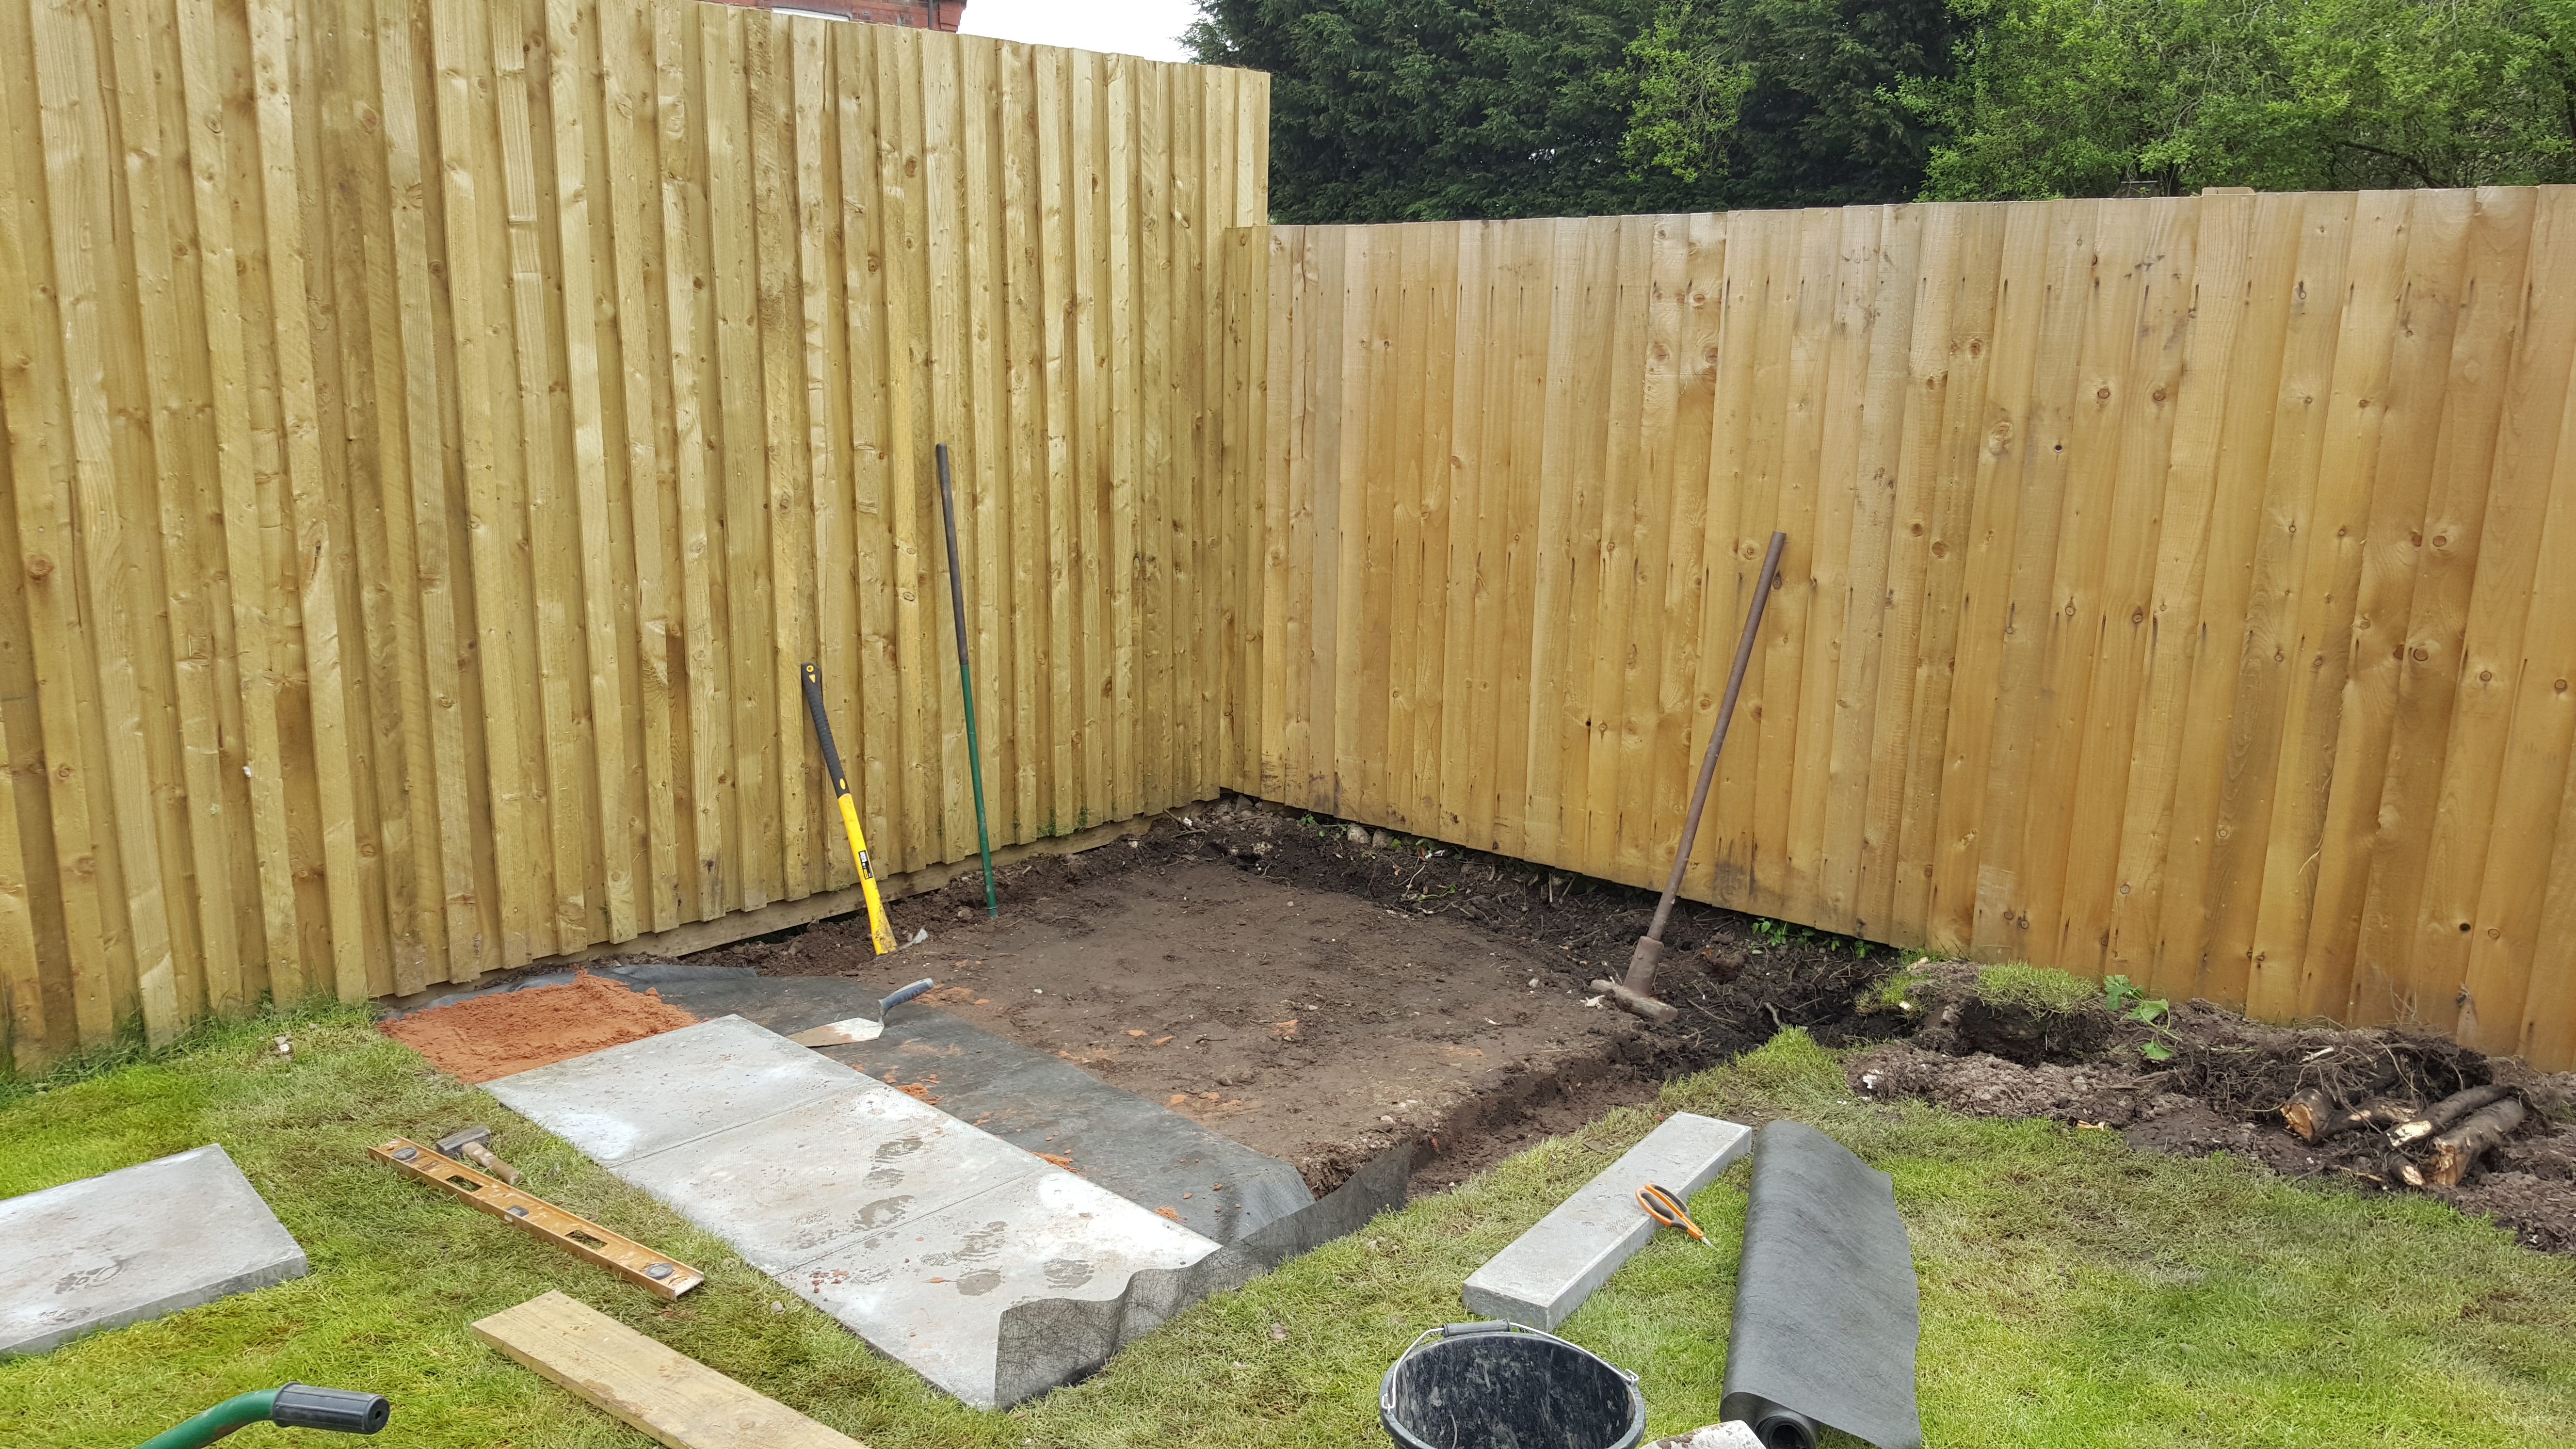
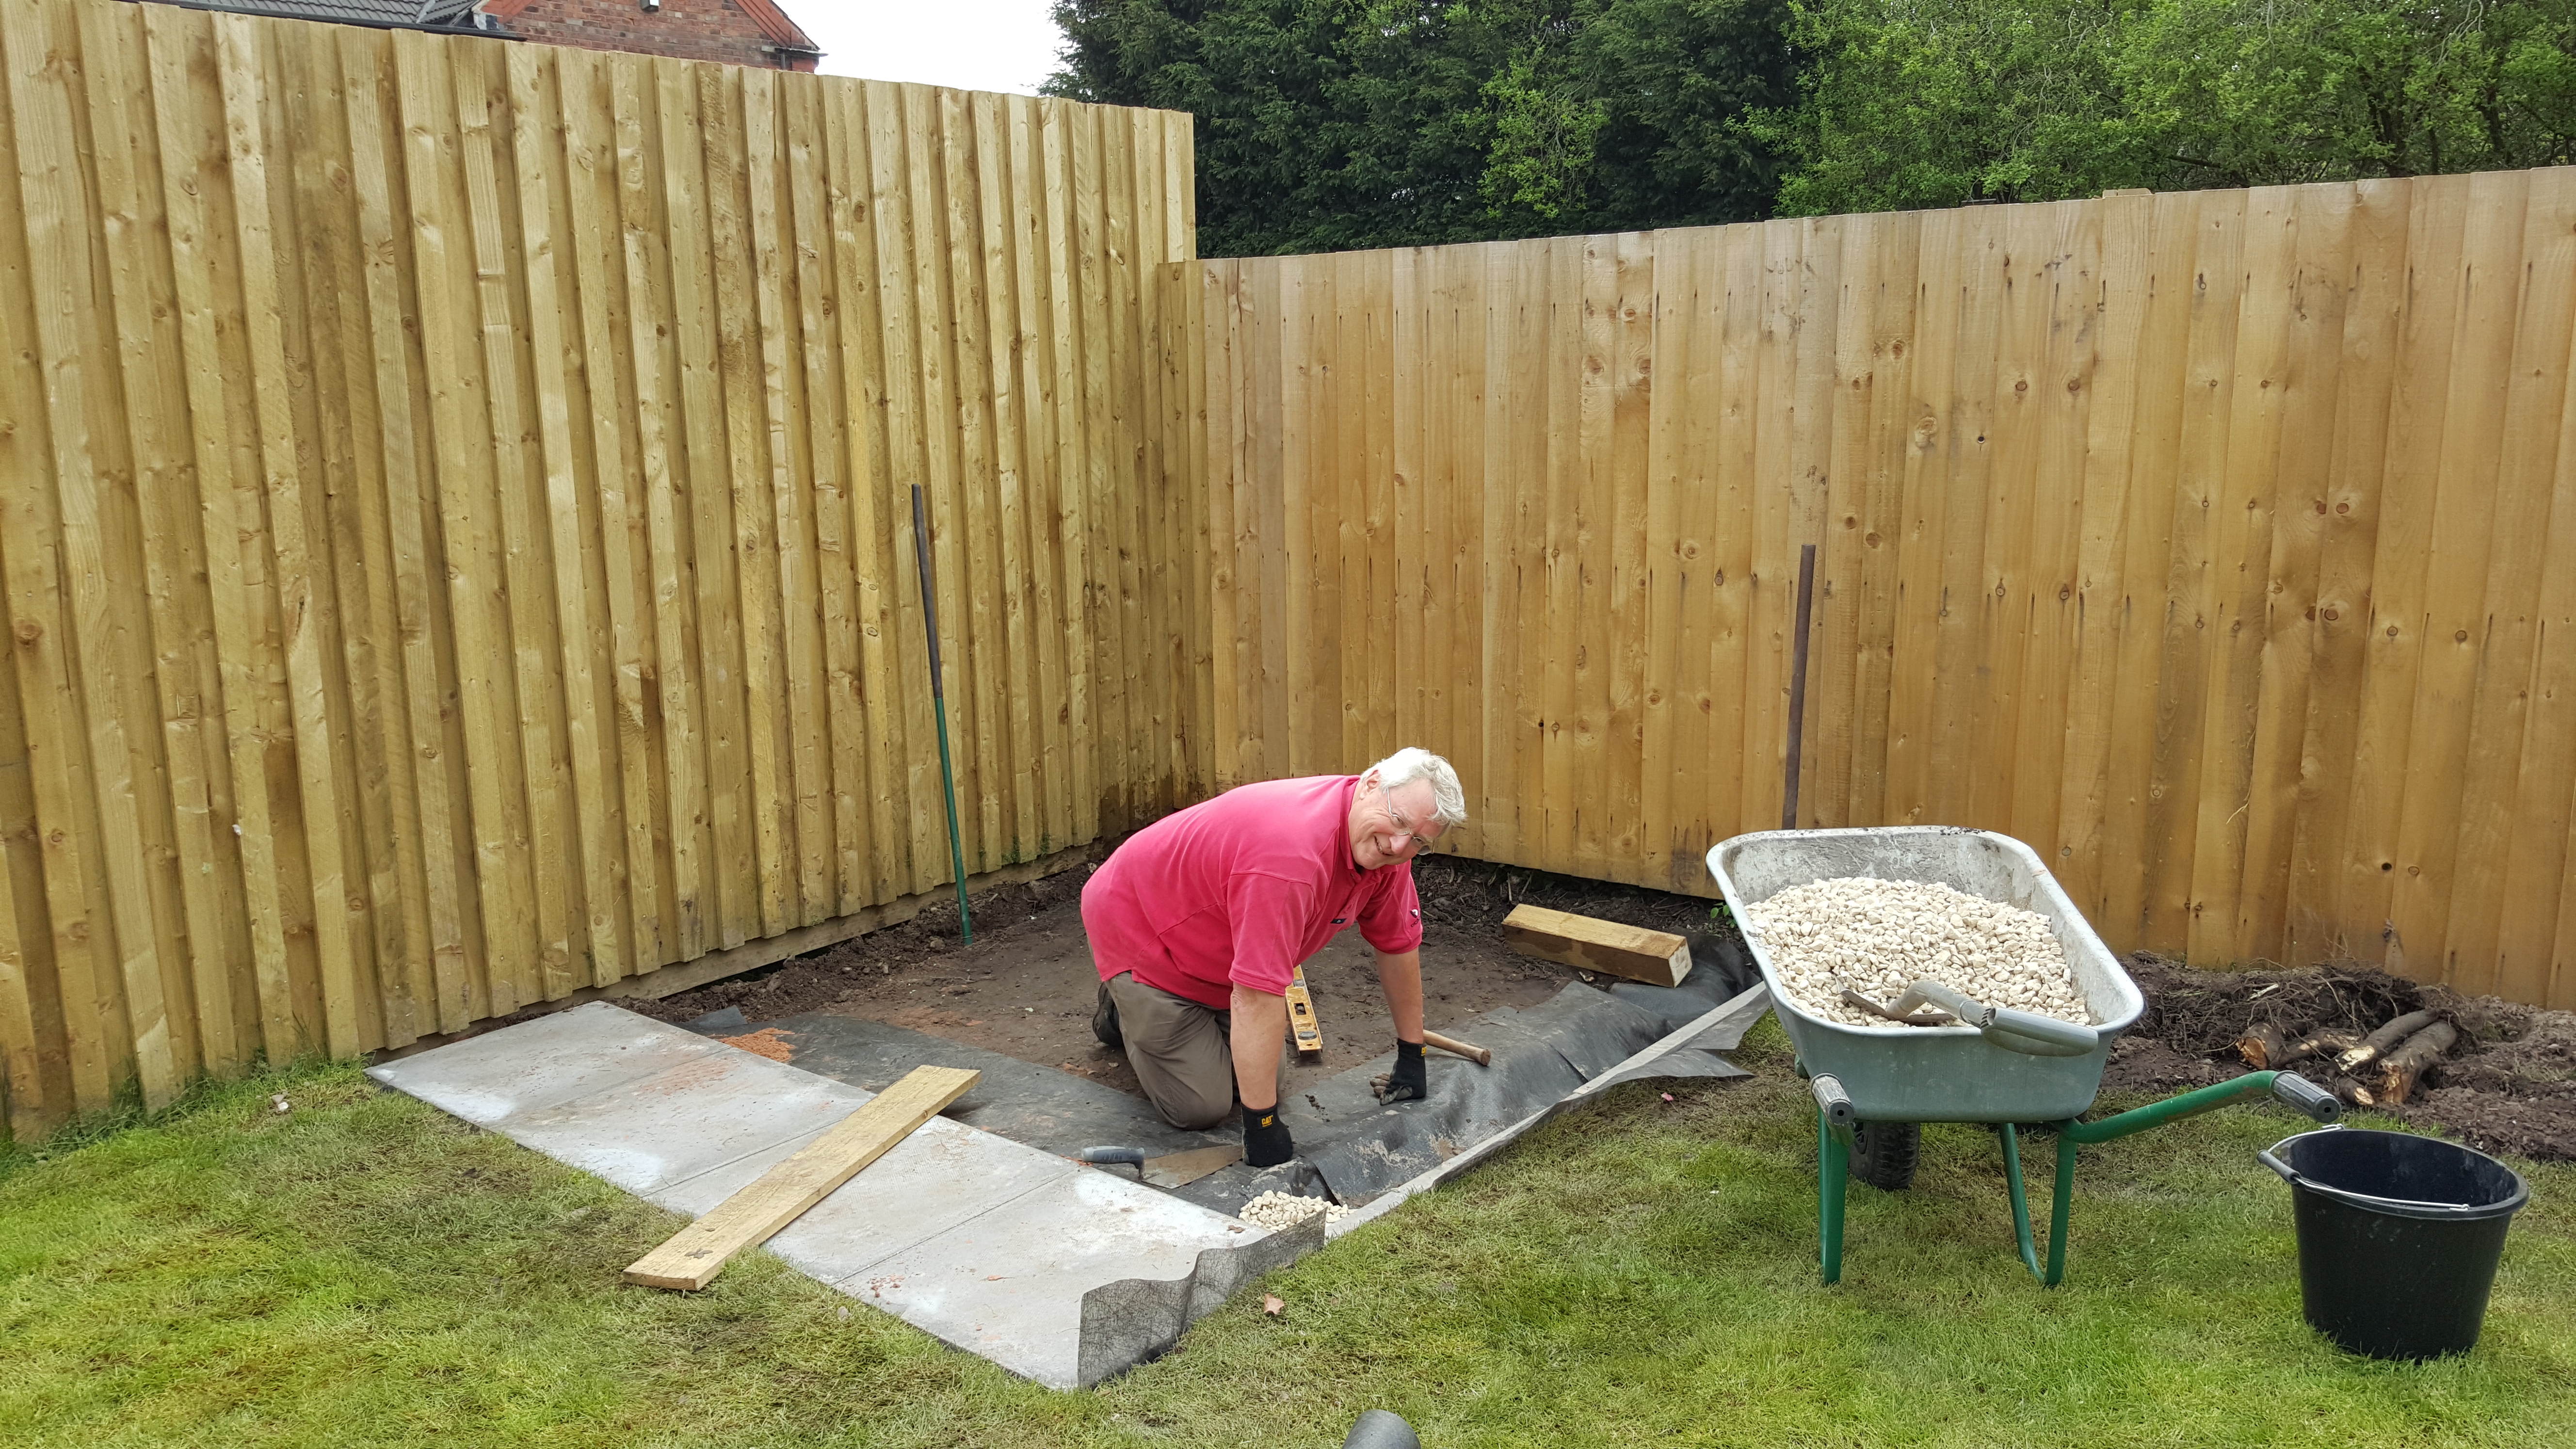
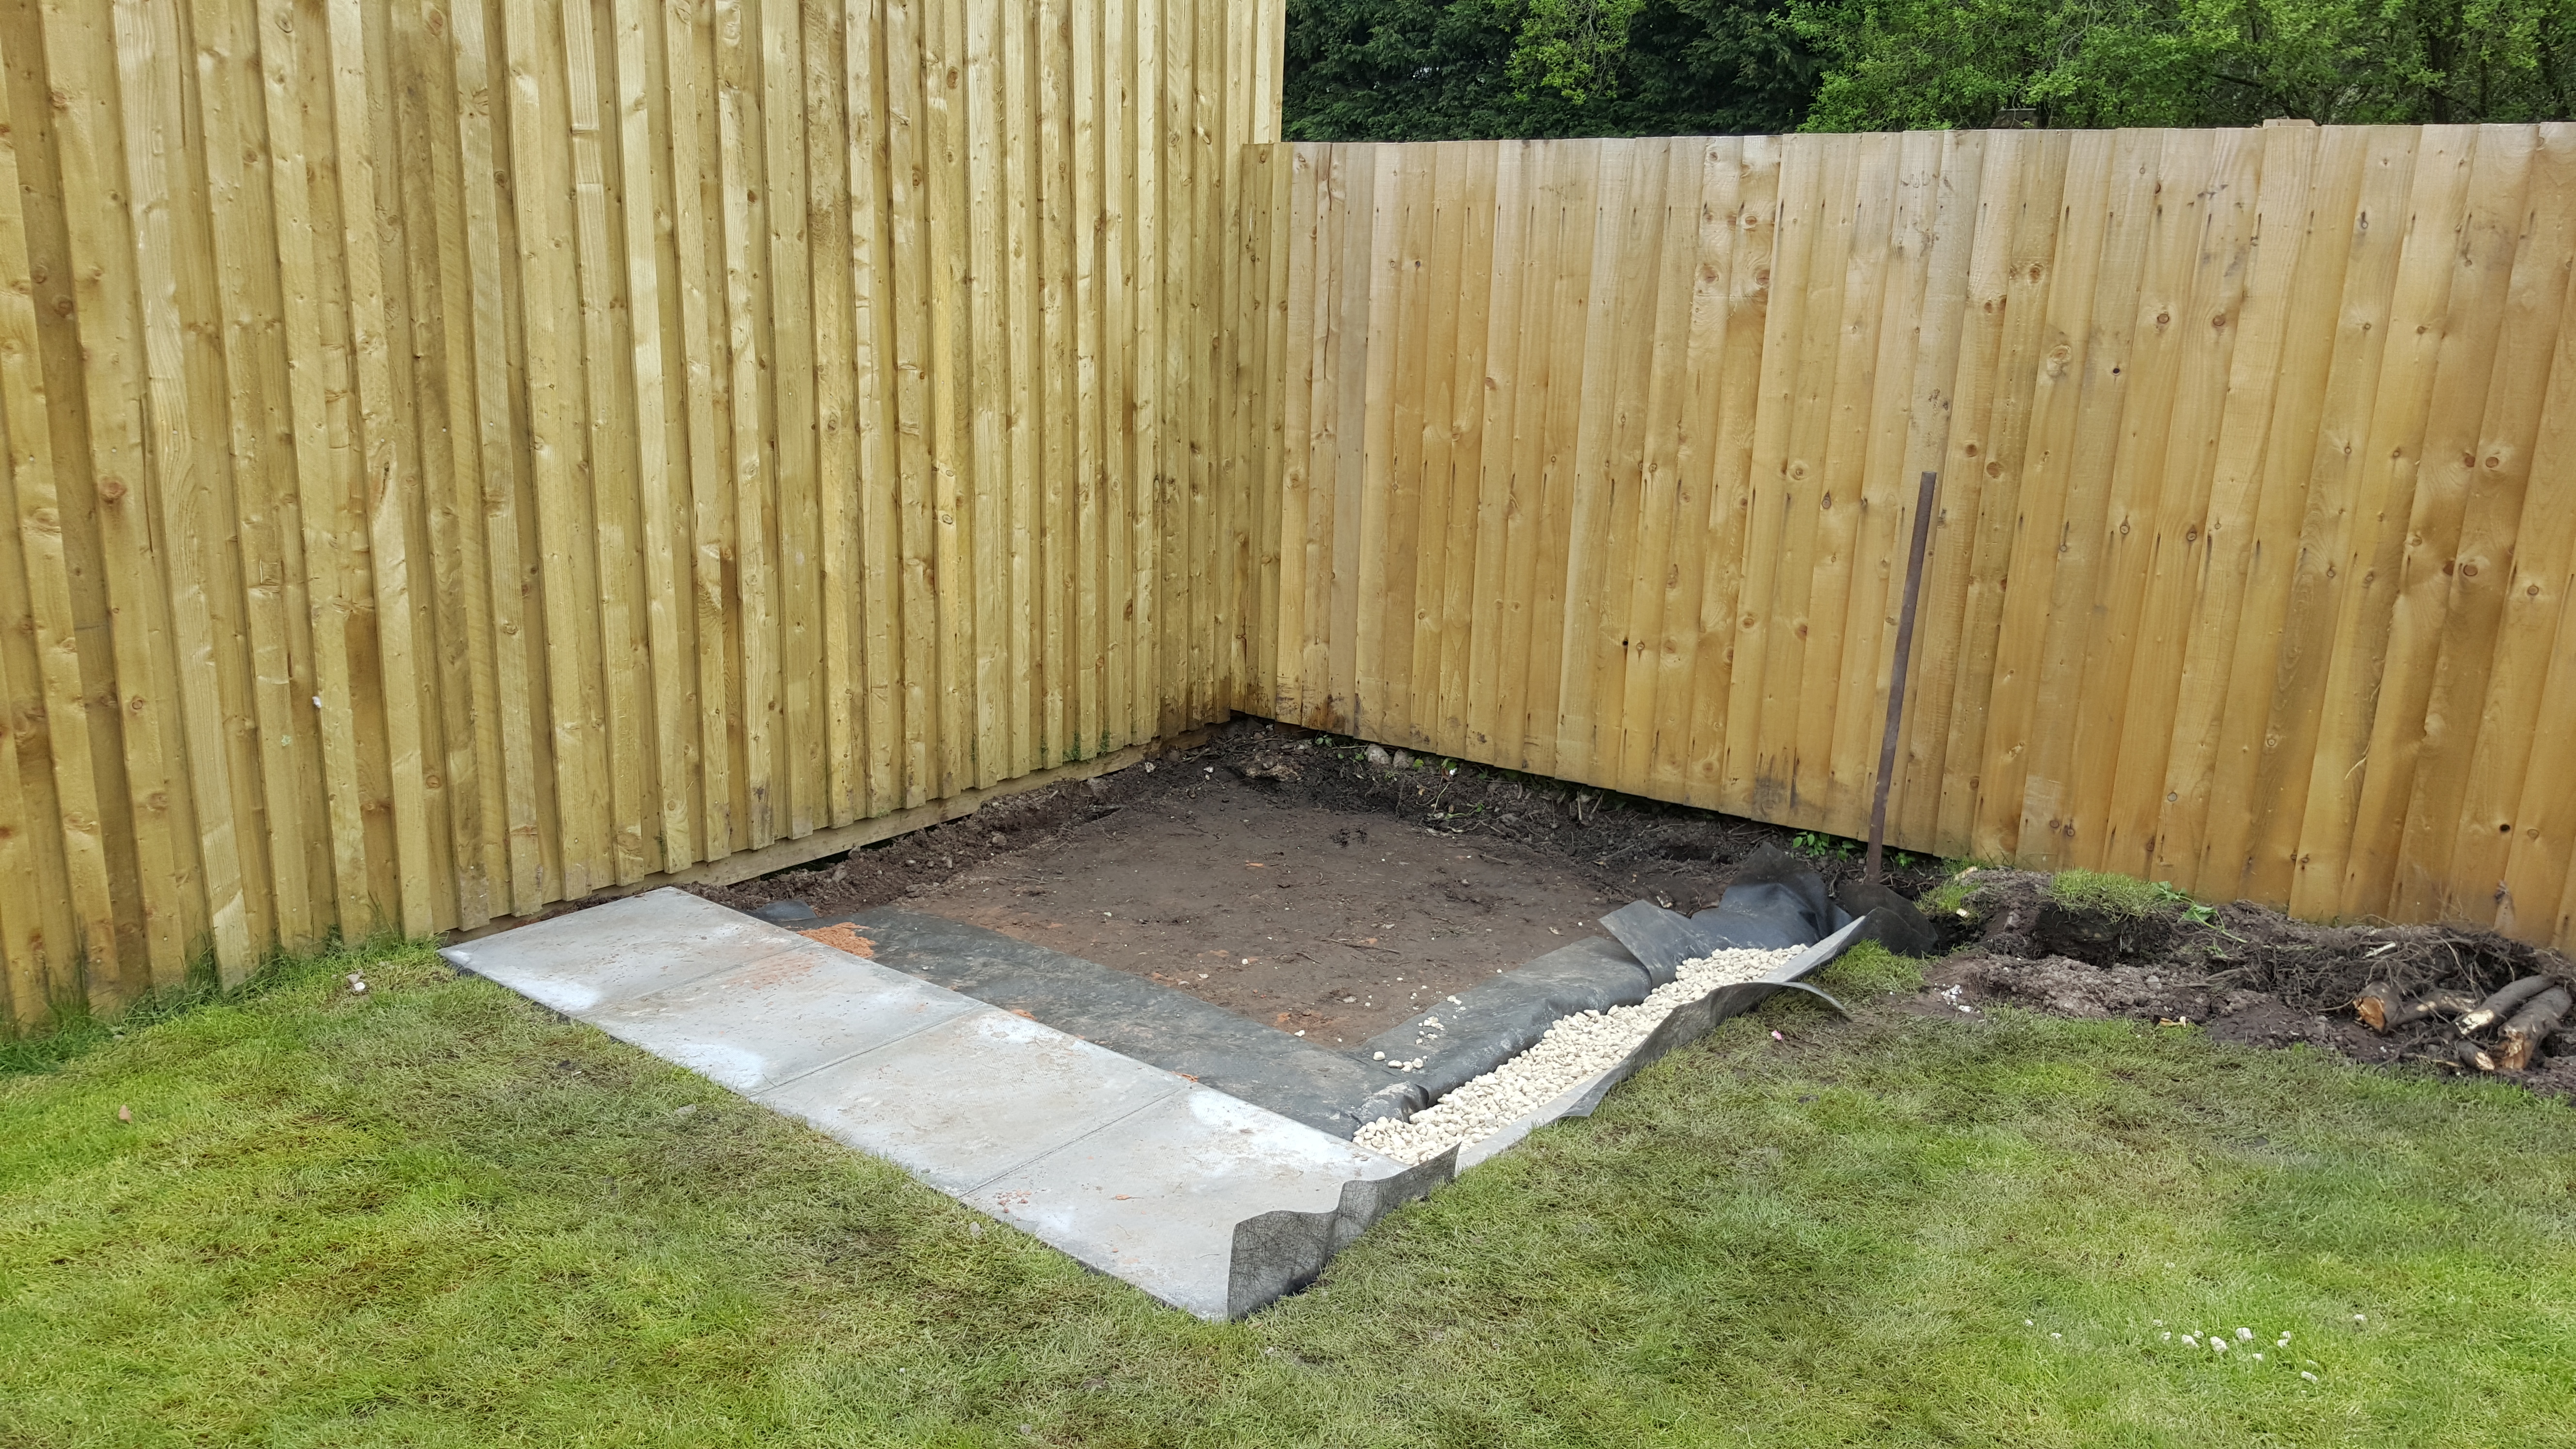
After this, the main base was laid, and just like the previous flags, these needed a foundation of sand, with a few lumps of concrete for stability. Note that we also lined the entire area with weed membrane as well, both underneath the flags, and around the edges under the chippings.
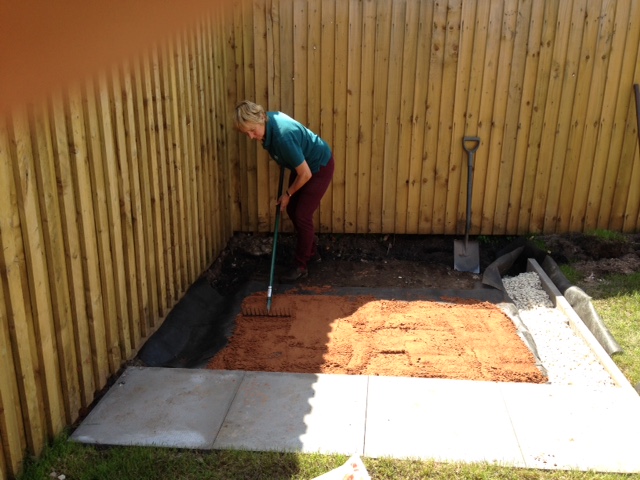
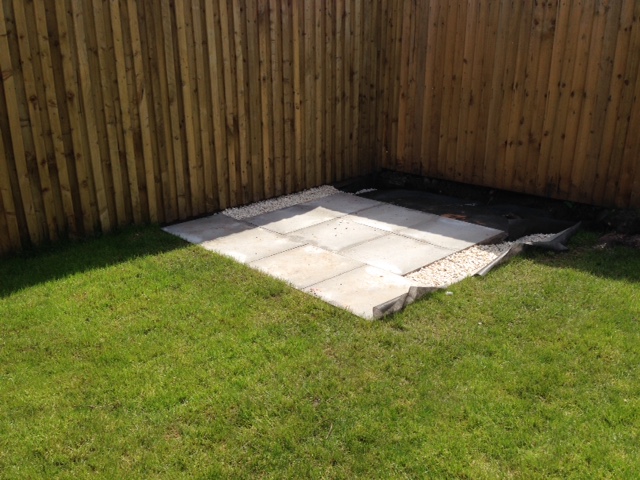
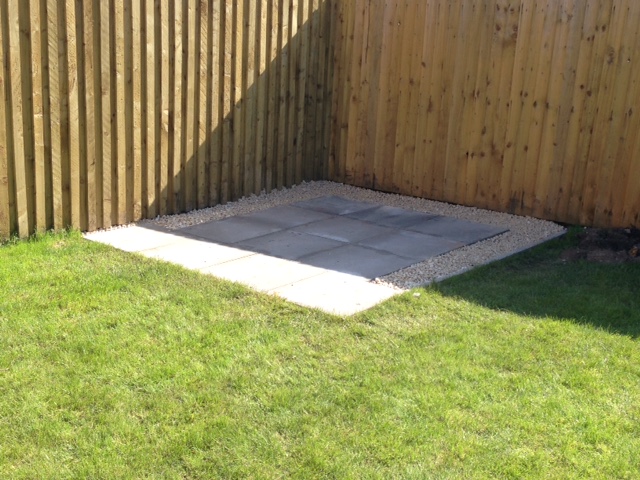
Finally, the rest of the border was filled in with limestone chippings, and the excess weed membrane was cut off, completing the base.
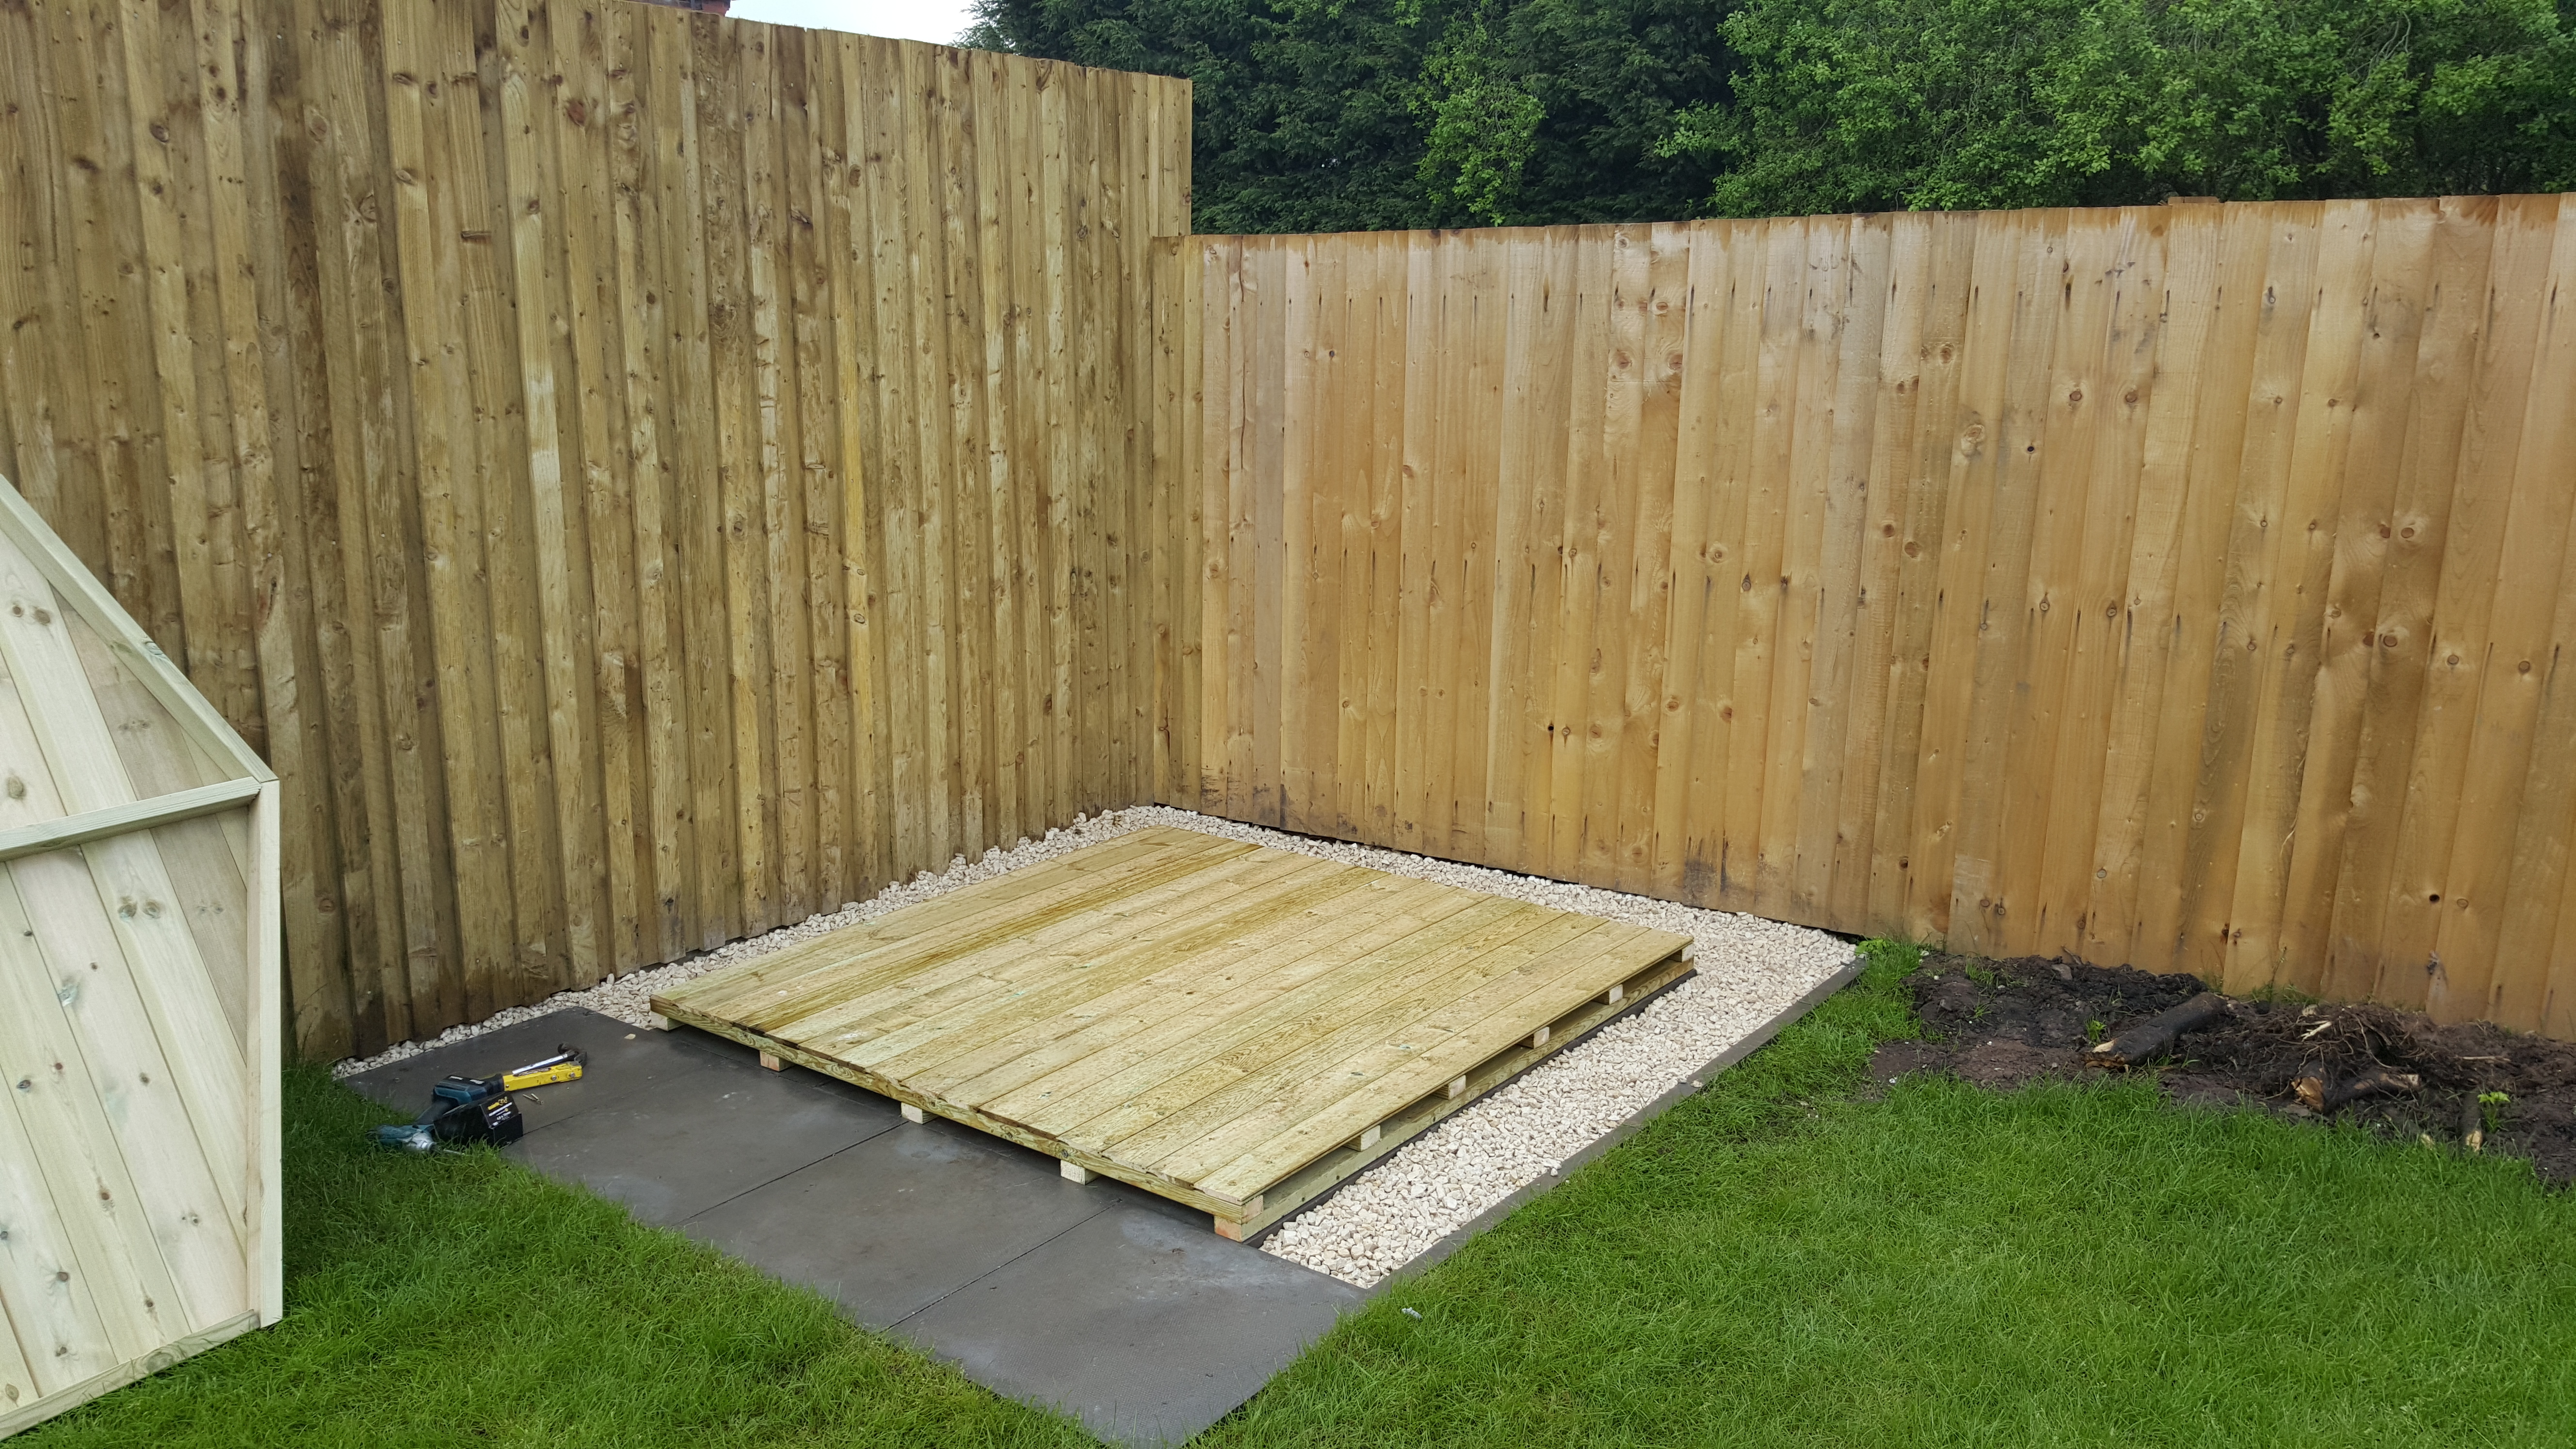
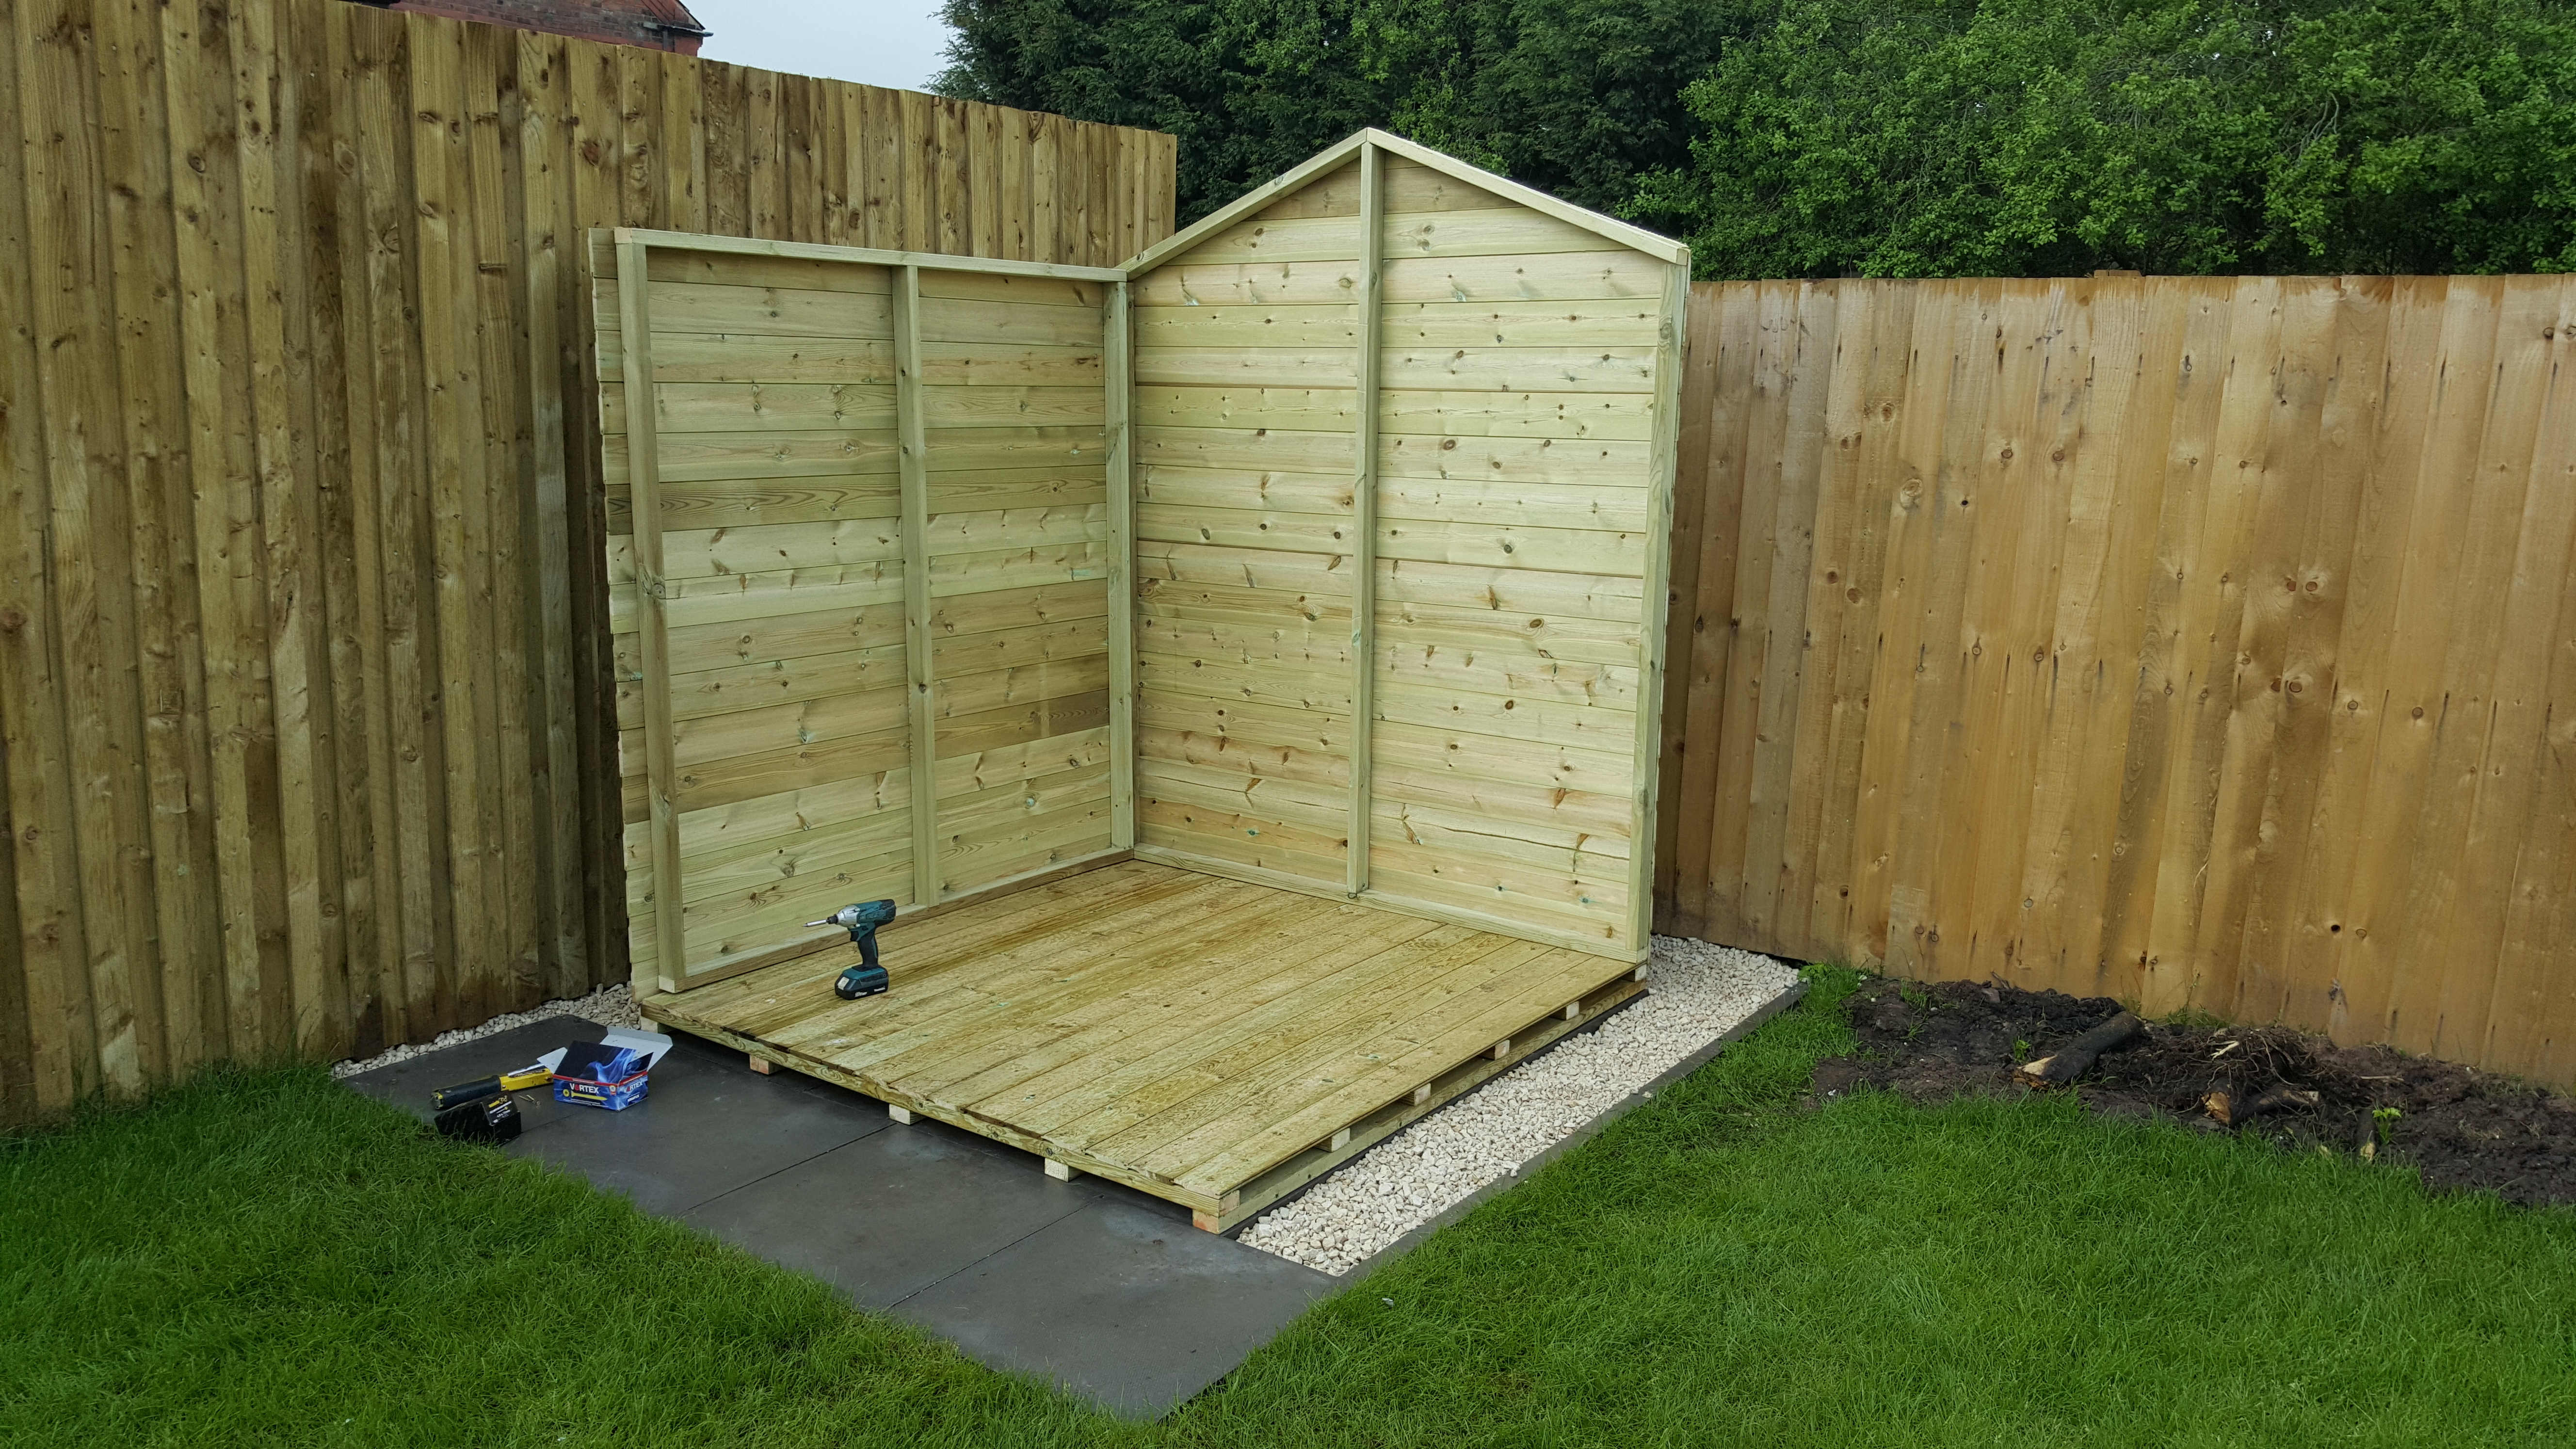
With the base laid, it was a case of getting the shed built. We ordered from Cheshire Sheds who are based in Northwich with a warehouse in Winsford. It was a very in-depth order, we got to choose our own style/colour of wood, the protective finishings, if/where we want a window, even down to which side we want the hinges on the door. We chose a tanalised wood, no windows, 6’x6′ shed to fit snug against the base.
When it was delivered, it went up very quickly, the team of two were in and out within an hour. The base went down, then the walls one by one, then the roof in two parts, and finally the trims and felt to complete the shed. The team were also kind enough to fit a padbolt to the door too for the extra security.
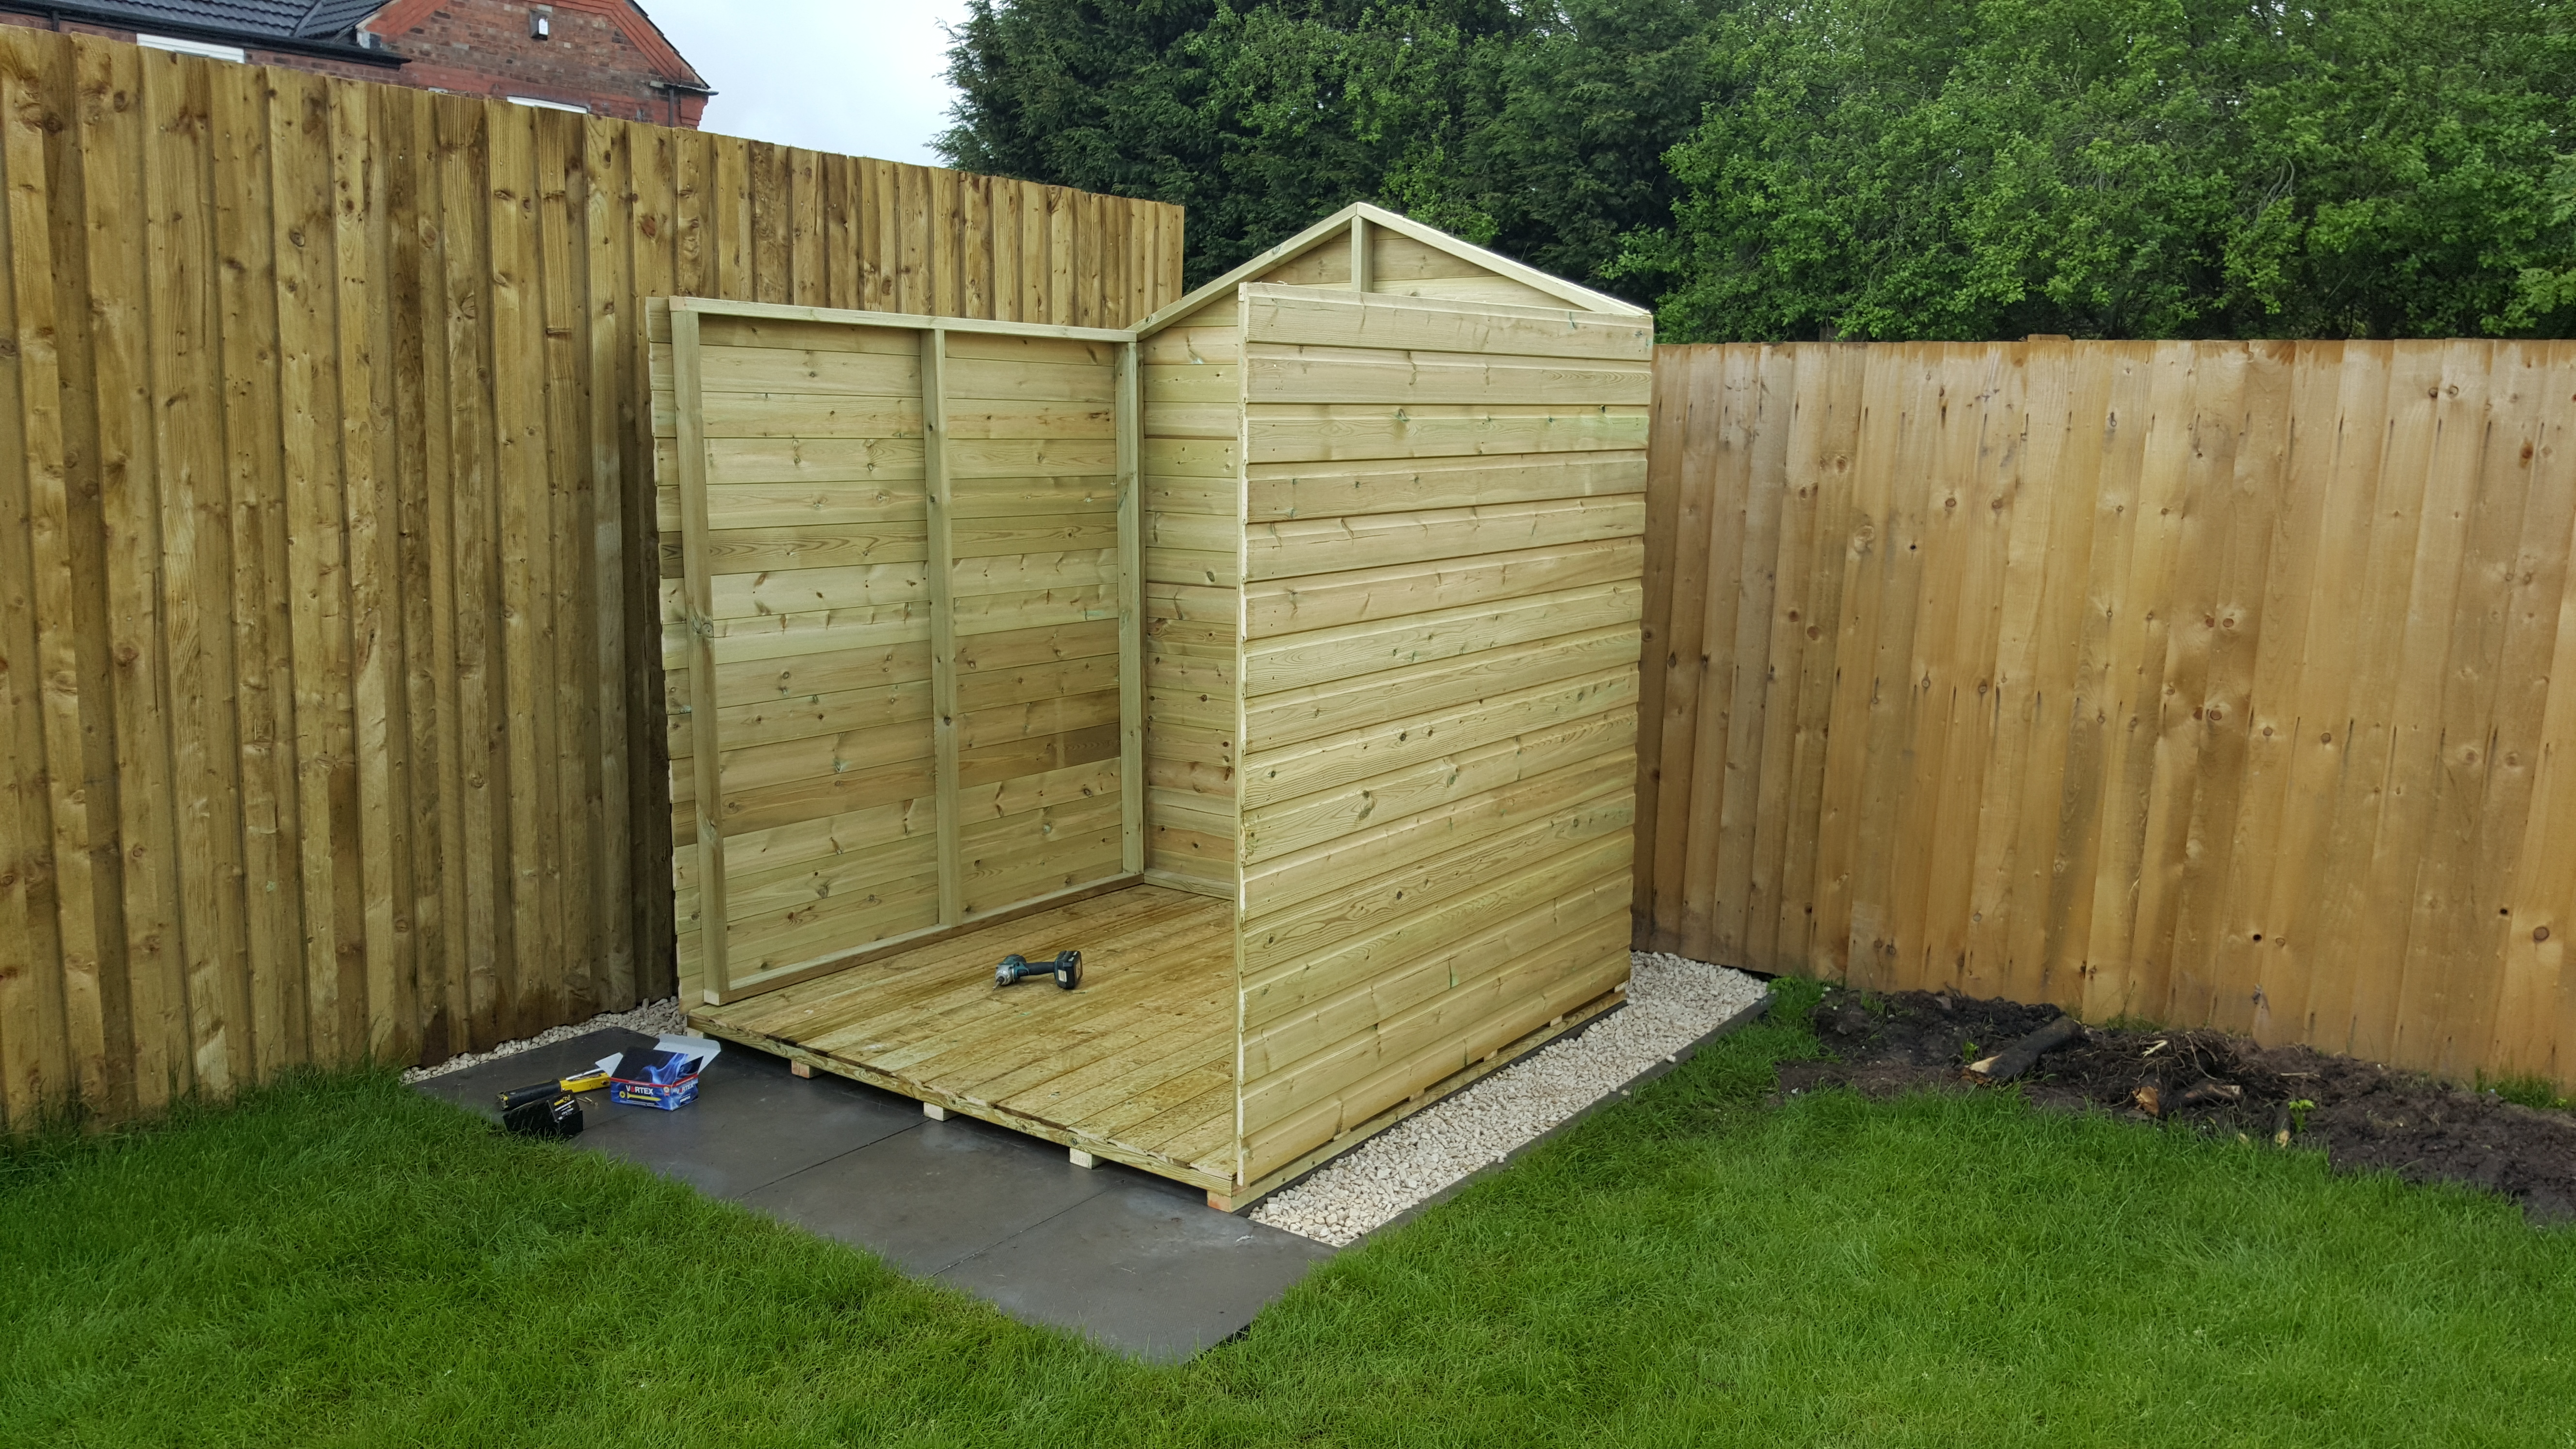

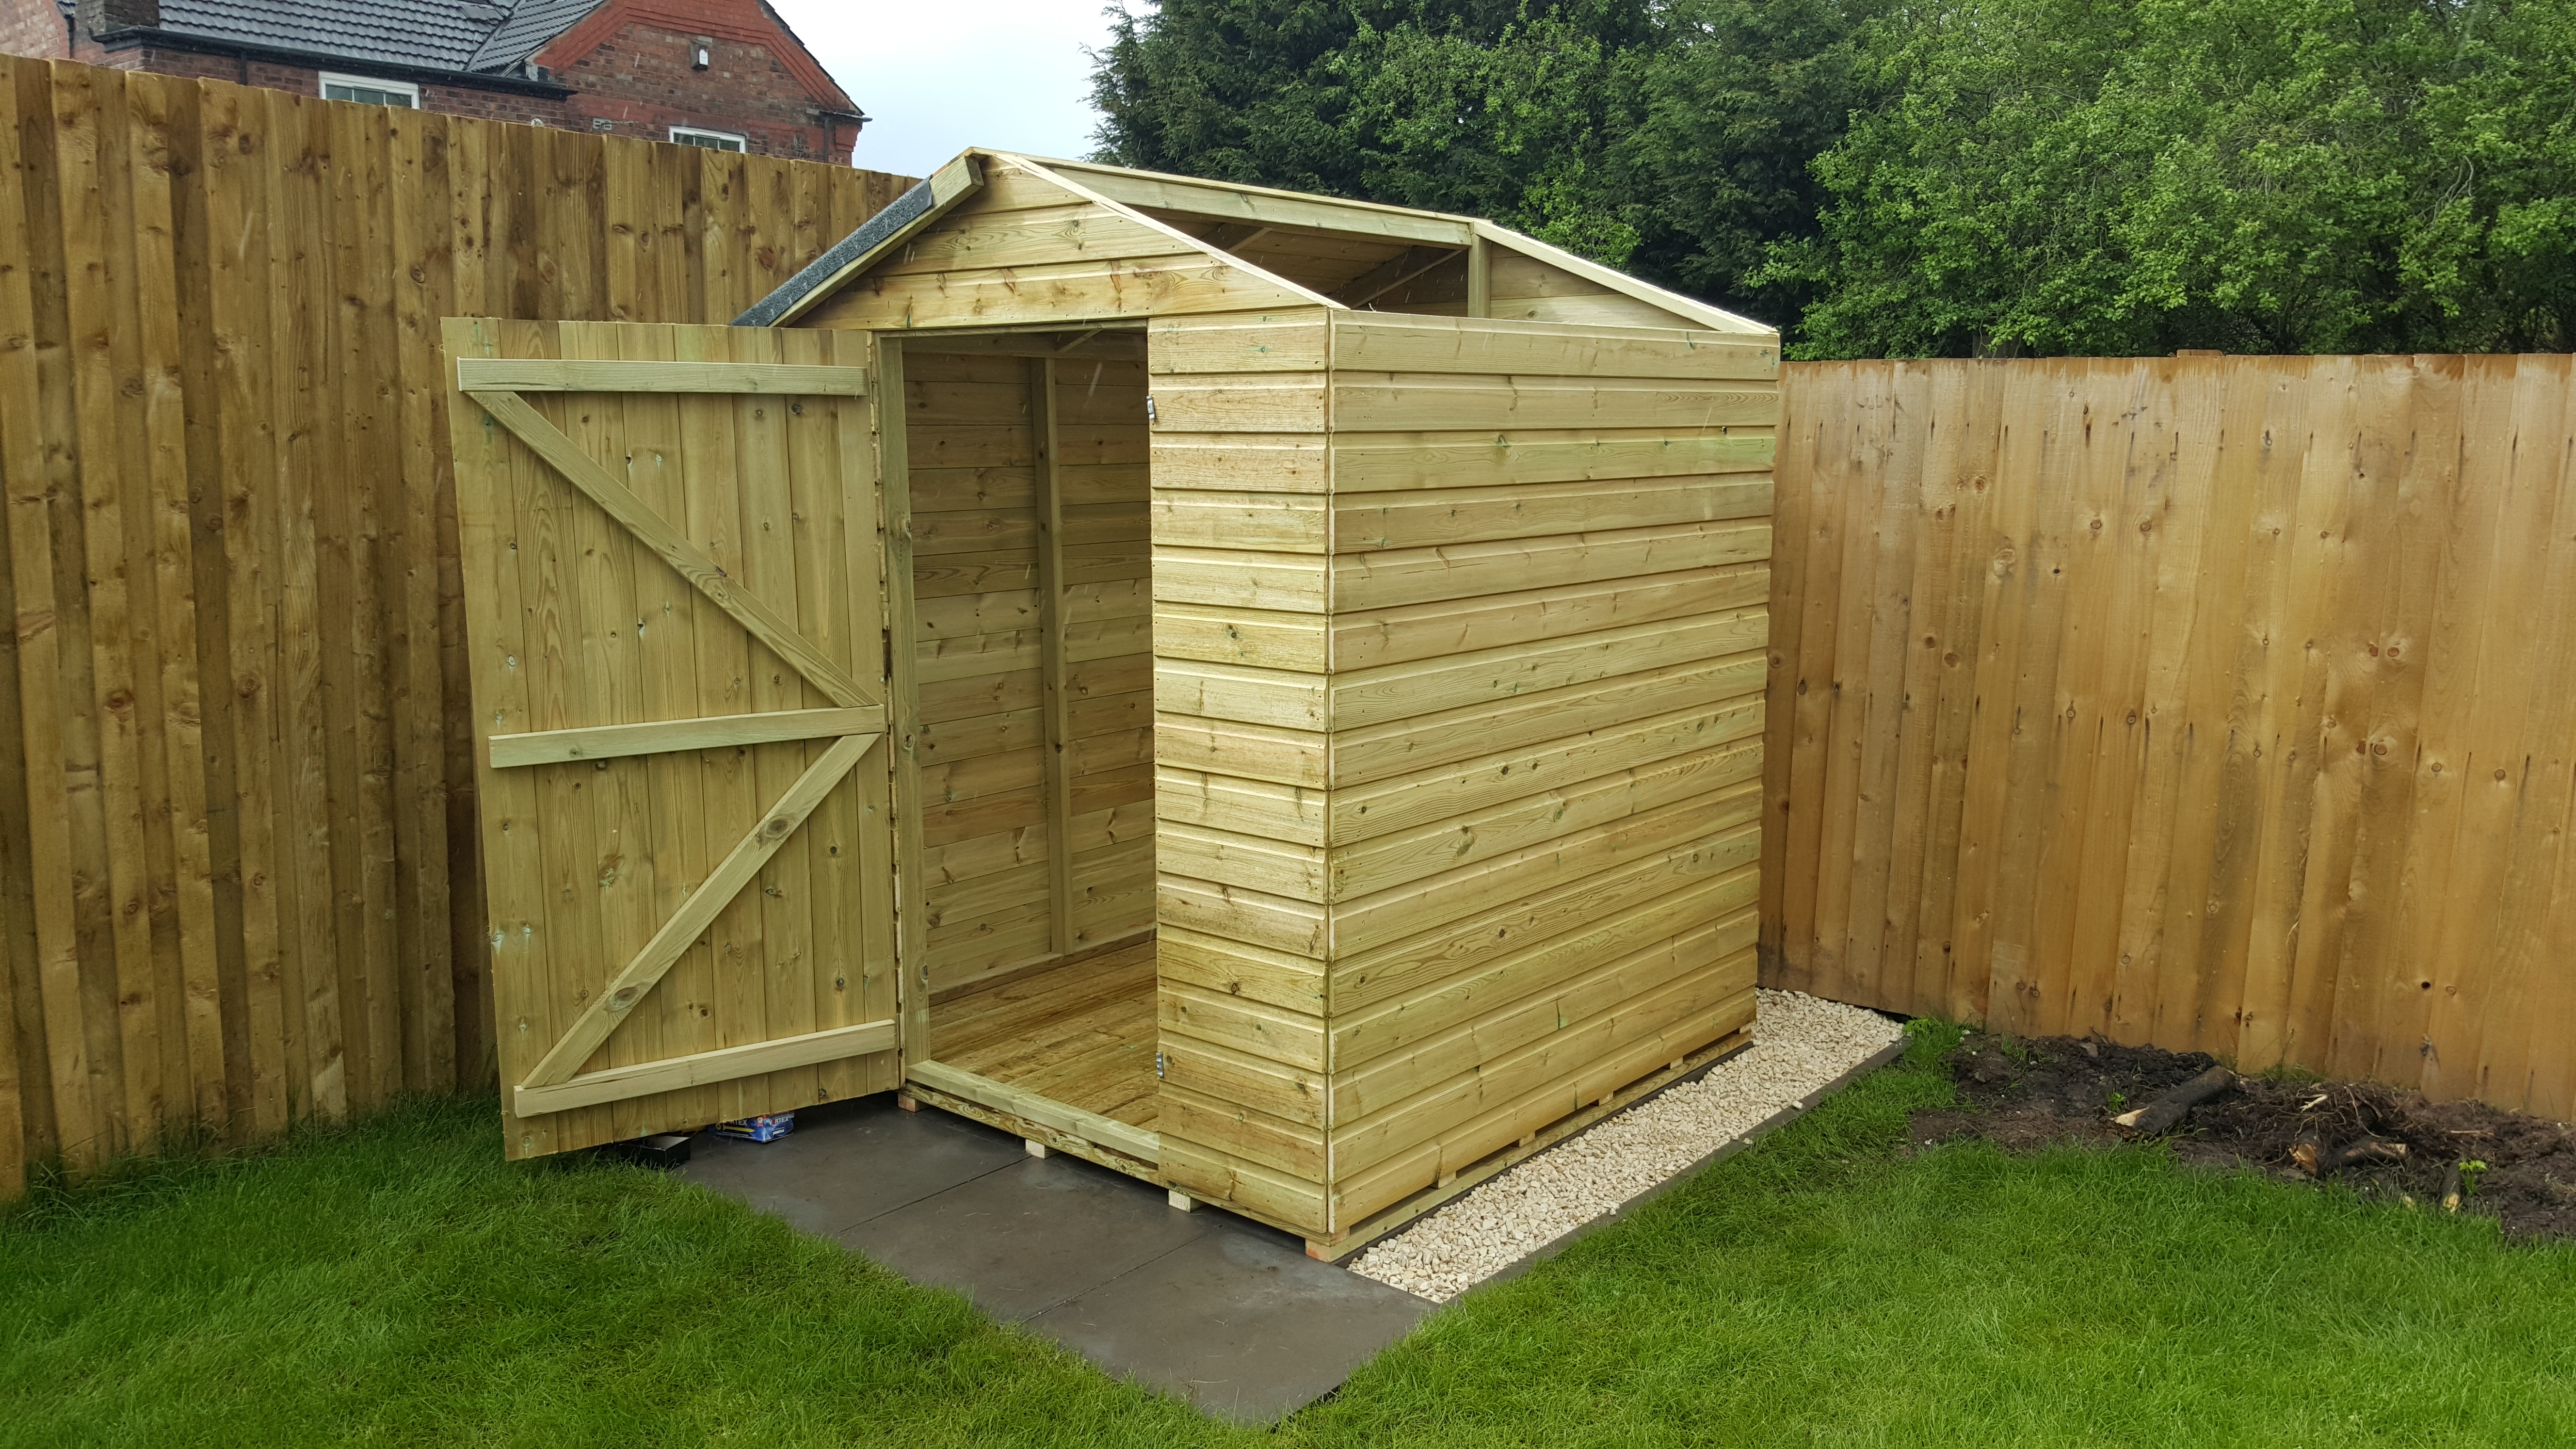

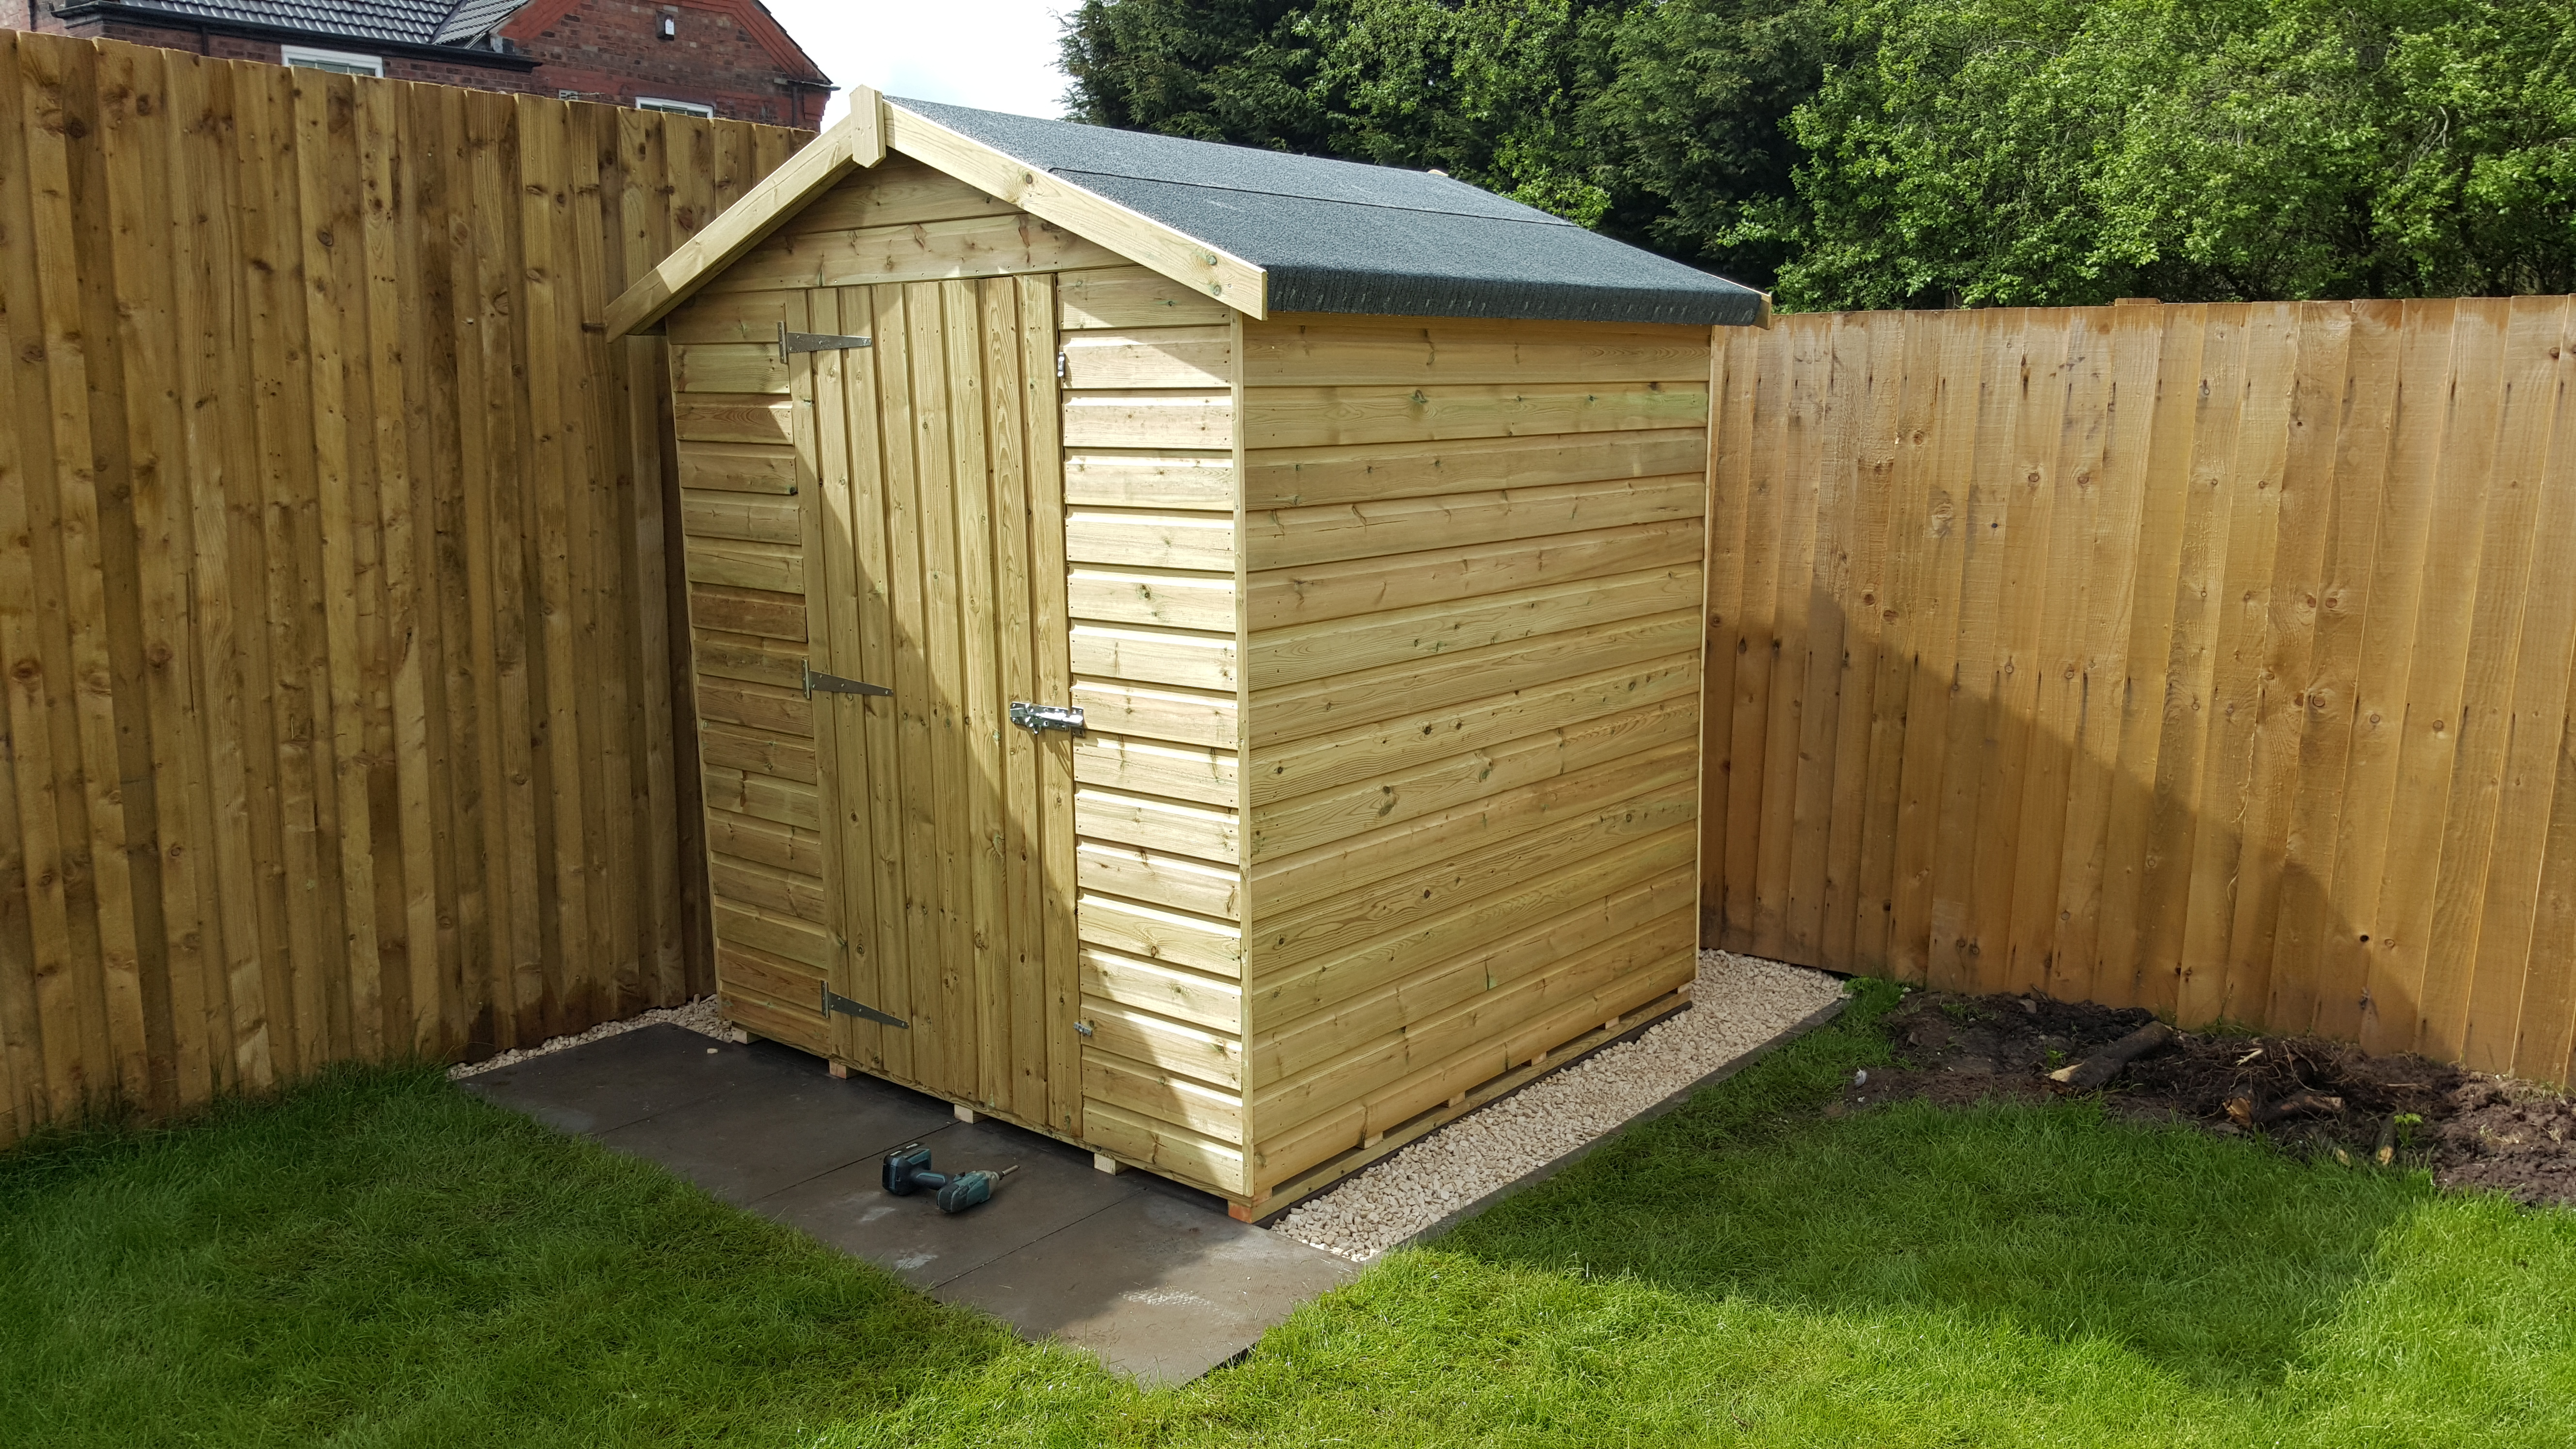
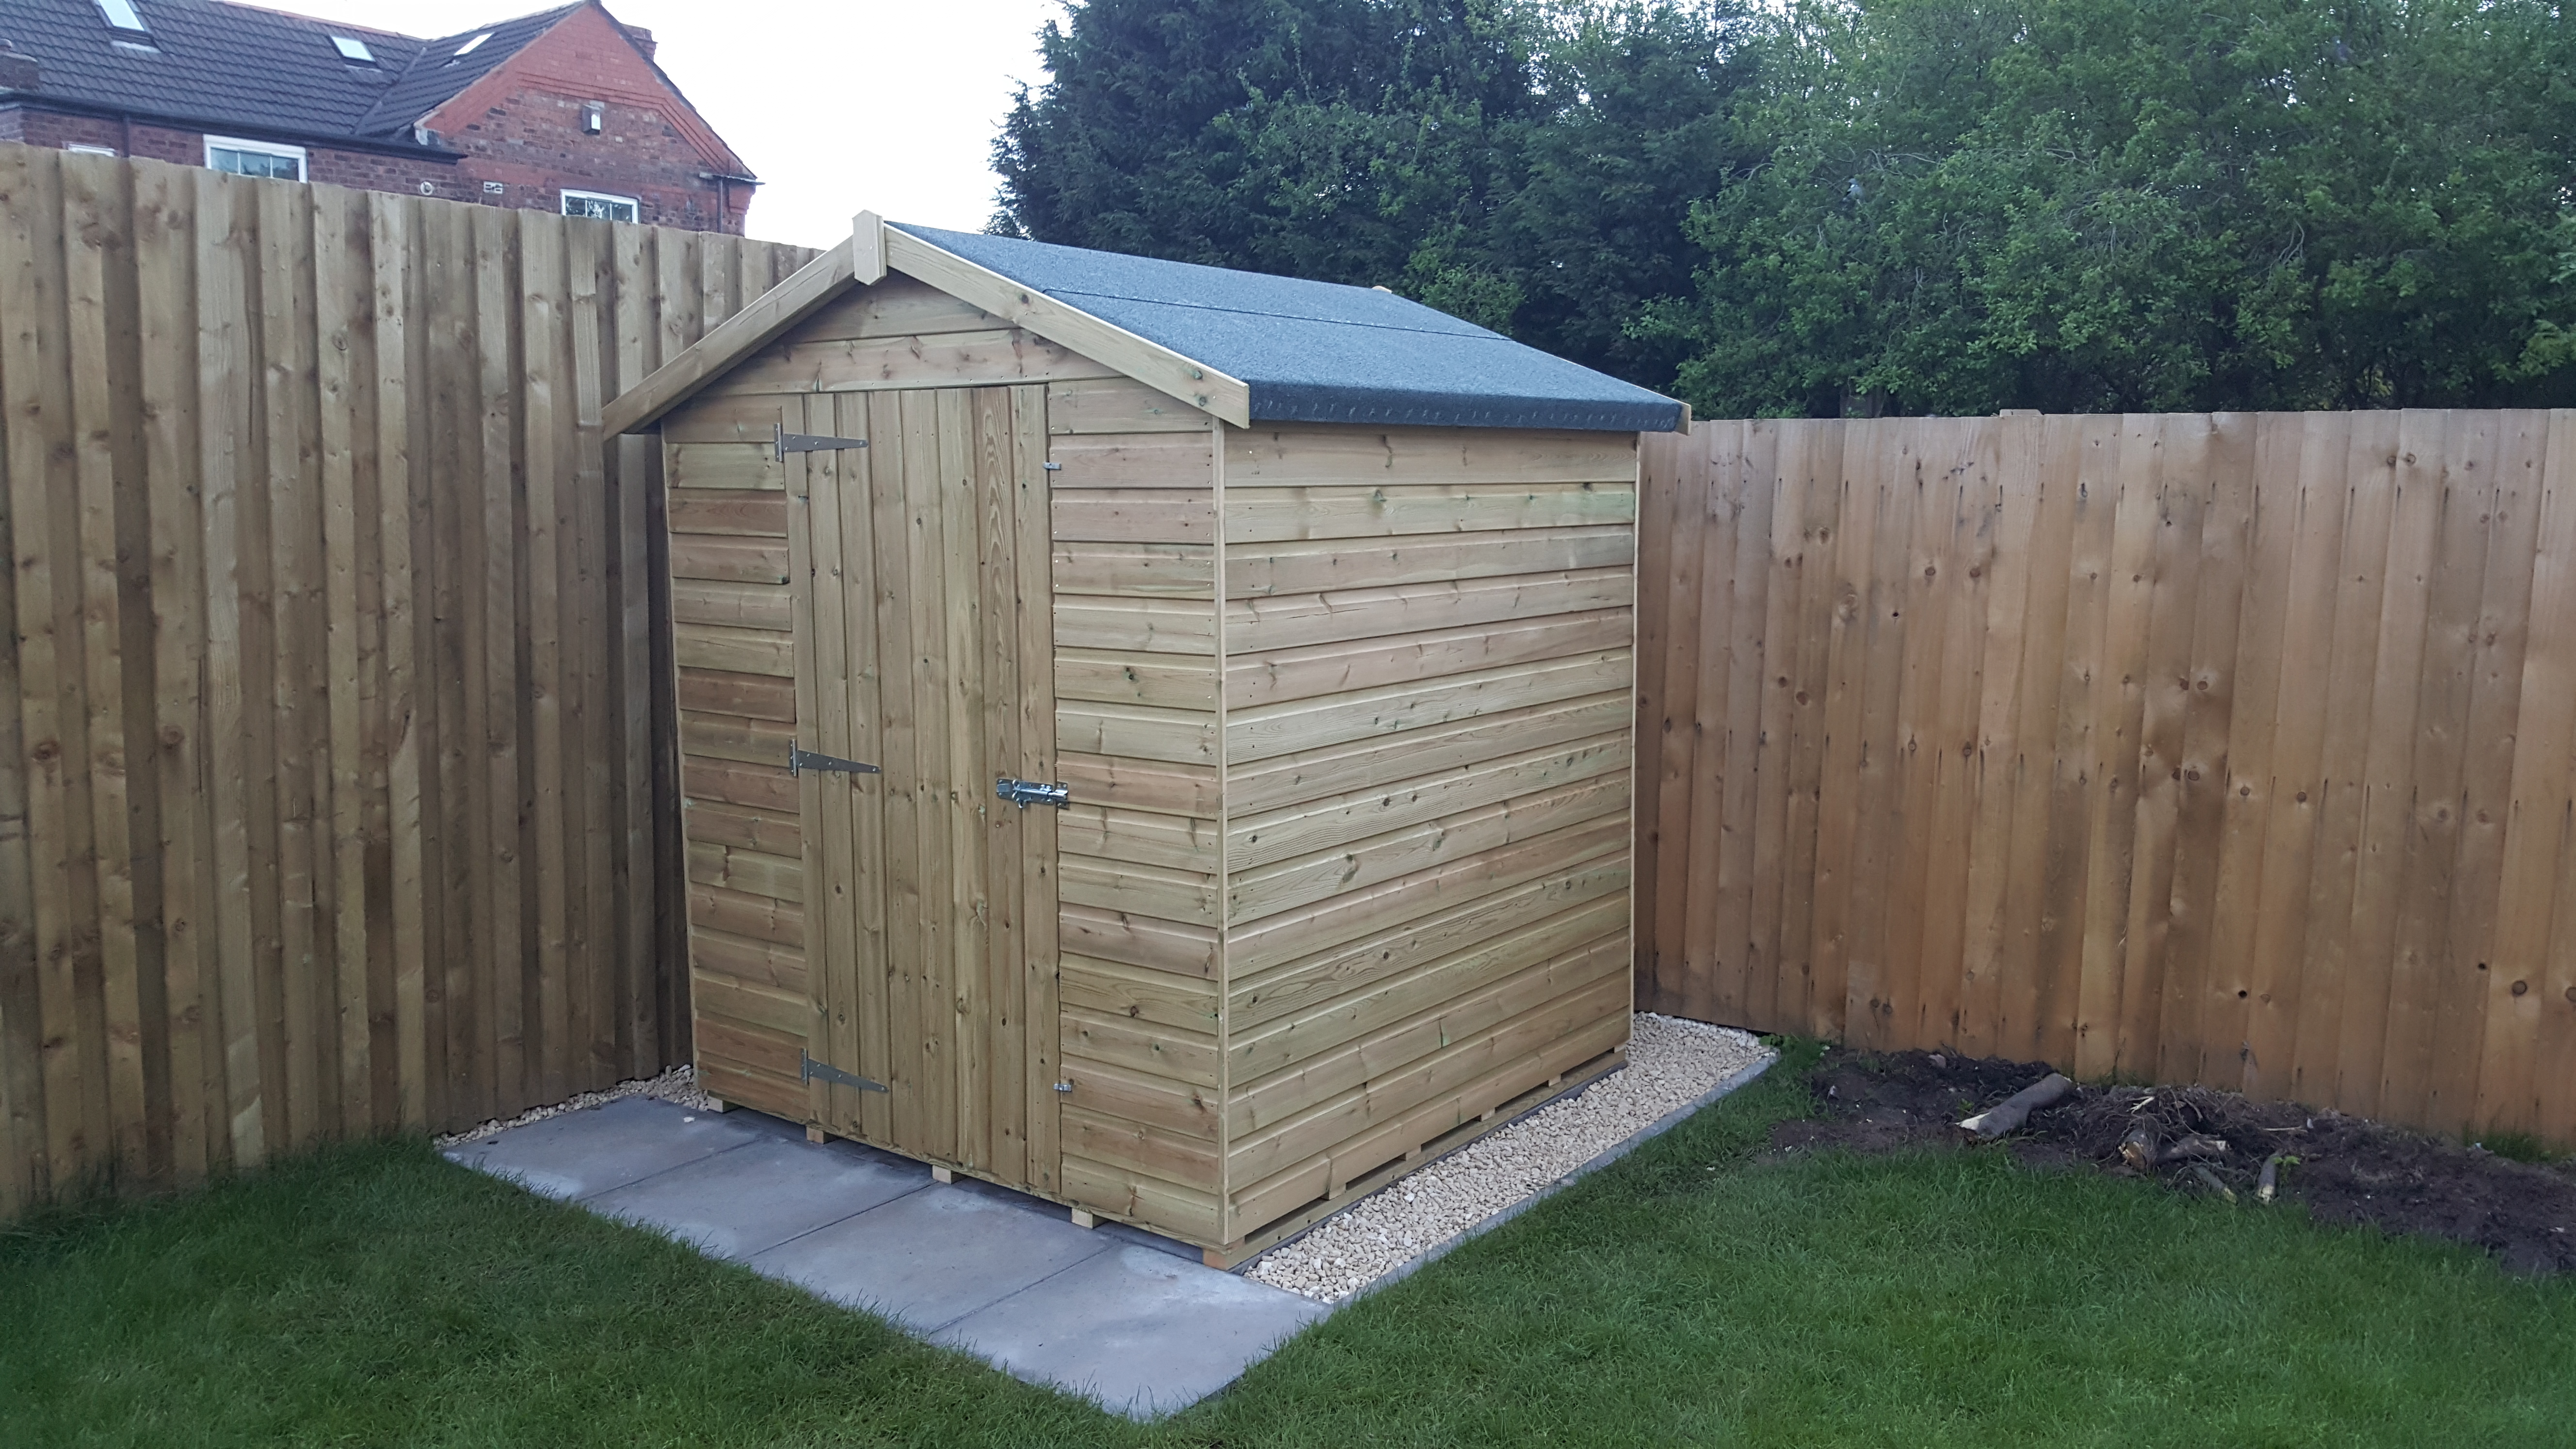
And then it was done! The wood blends in fairly well with the surrounding fences, and it’s more than big enough to store the odds and ends we need it for!
Again, thanks to the parents for helping with the base.
Need an update. Base sunk in the back corner. Needed to roll the shed off the base and relay the flags to get them label again. There’s a danger this will happen again due to the fact that this part of the garden gets waterlogged. Next time (if there is one), you’ll need to dig footings to stop any further sinking.